// 2026 builds
Built On Purpose
Four pieces, the reasoning behind them and what the numbers turned out to say.
// 2026 builds
Four pieces, the reasoning behind them and what the numbers turned out to say.
The main page covers everything up through the early work and the lessons it taught. This page is the next chapter: four pieces made in 2026, each one built with a specific color decision and pattern choice. Throughout, a strong need to track measurements for patterns and specific cord was identified.
The creations, the numbers and the lessons below aren't separate categories. They came out of the same builds at the same time, so they're presented together here, piece by piece, with some possible lessons I learned. A short synthesis at the end pulls the threads across all four.
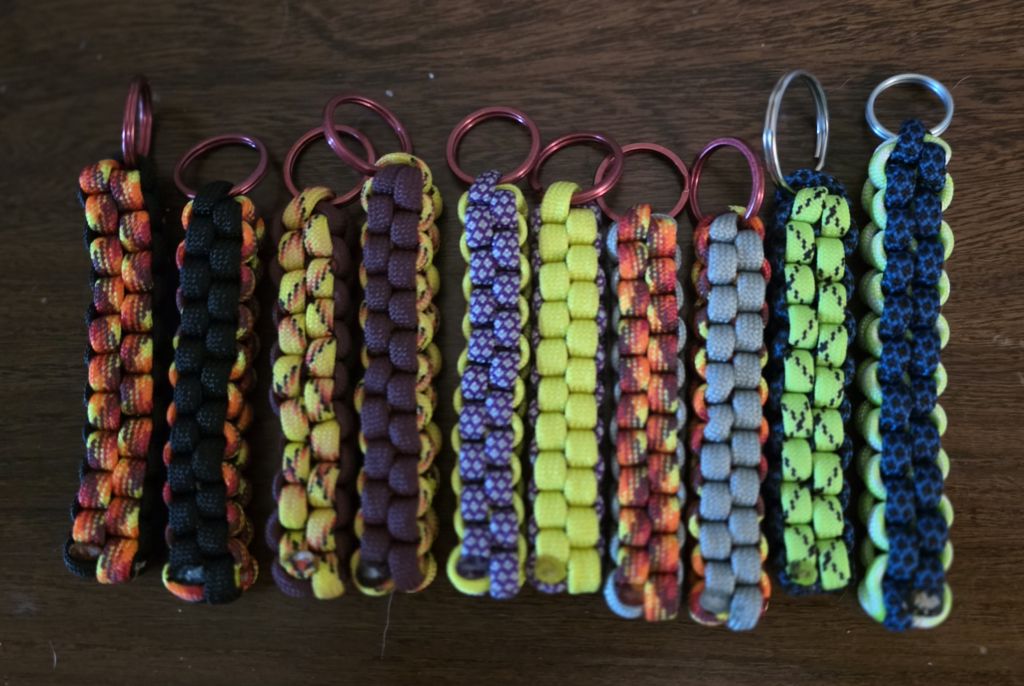
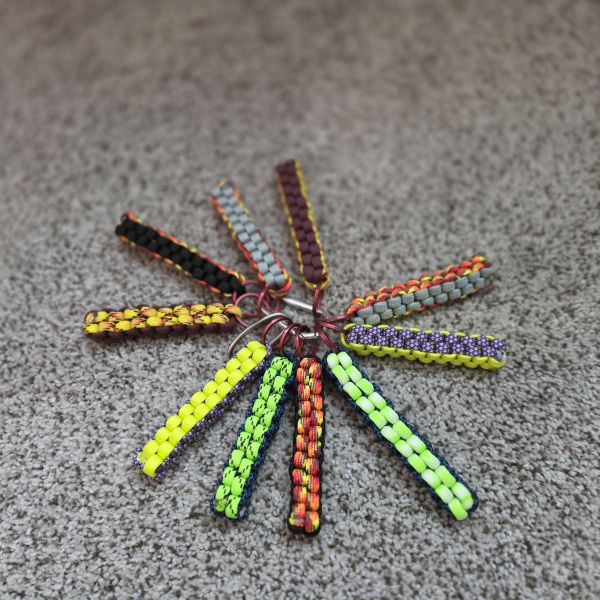
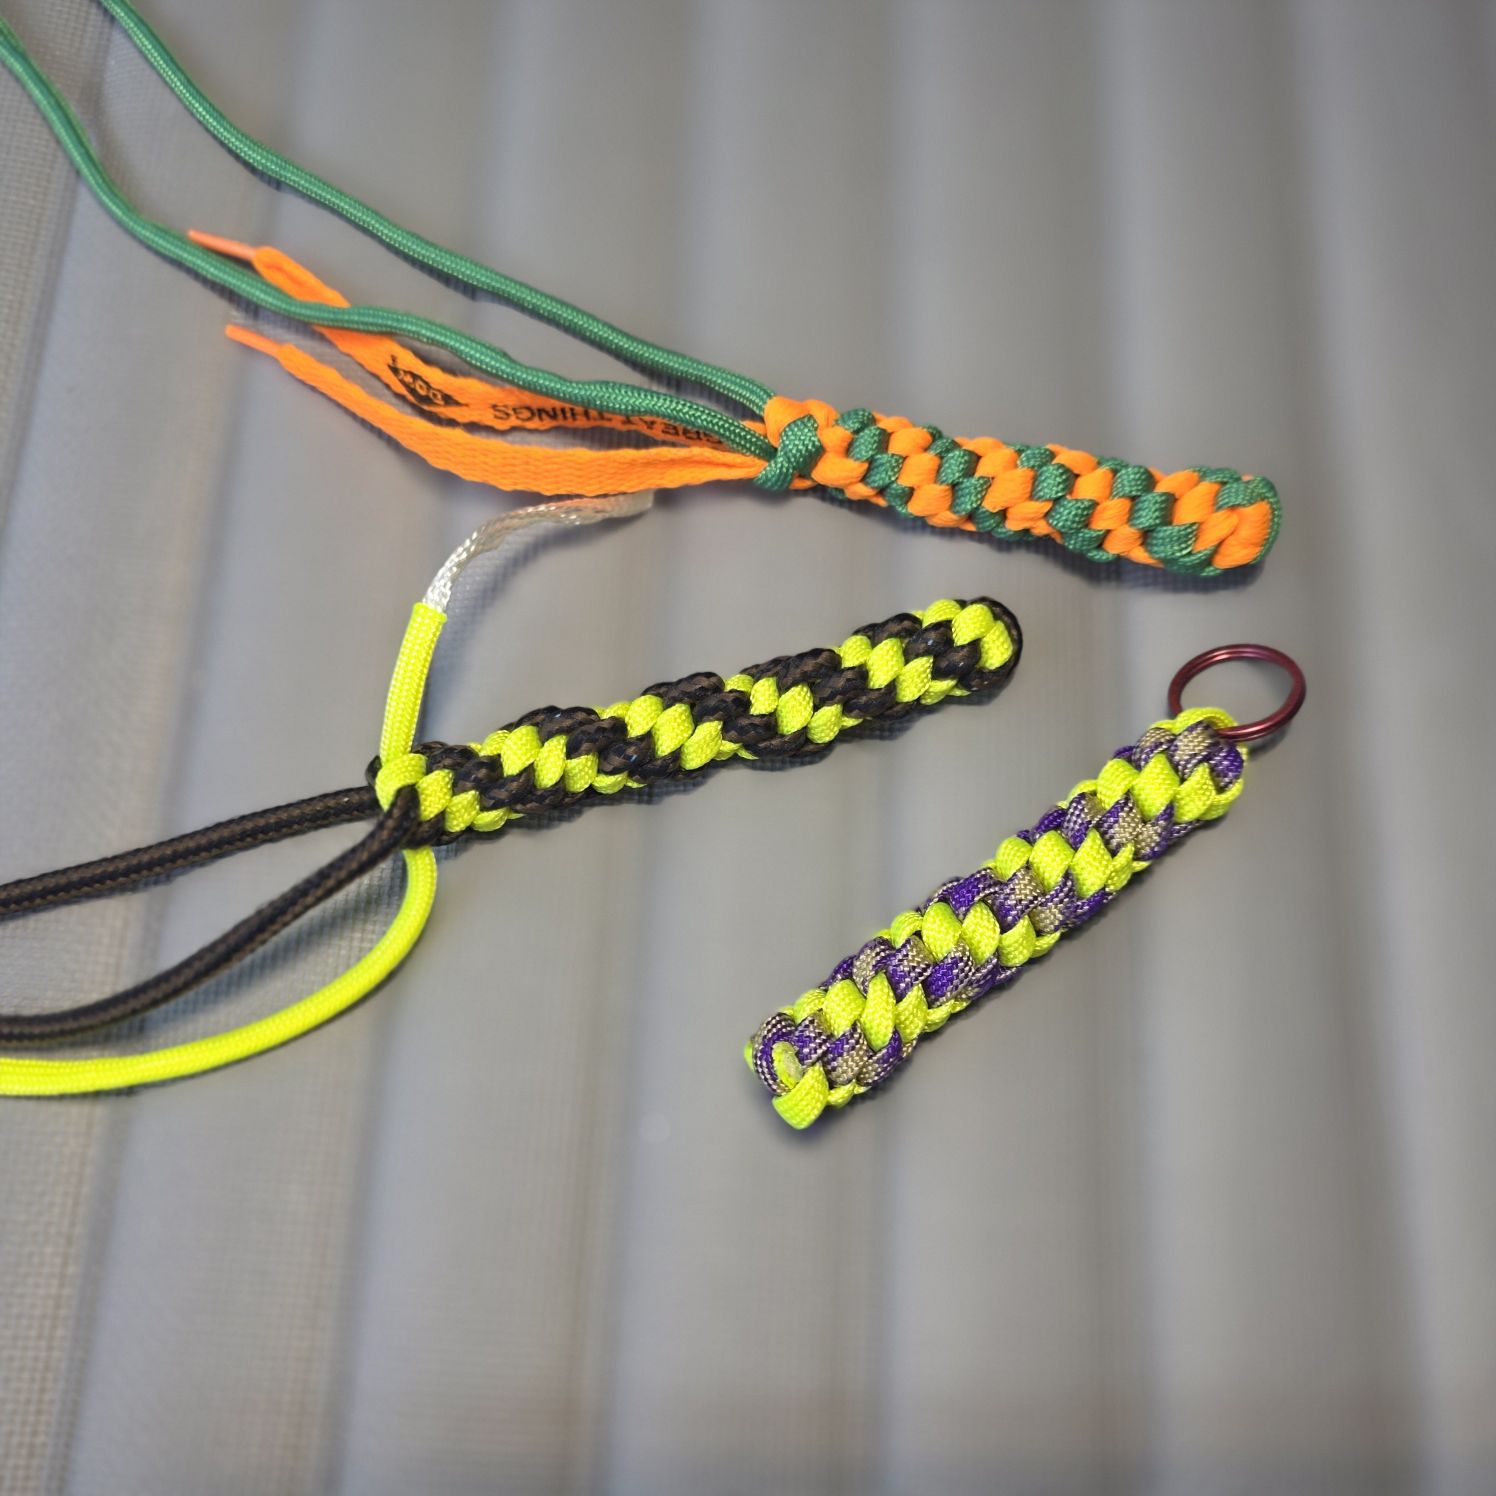
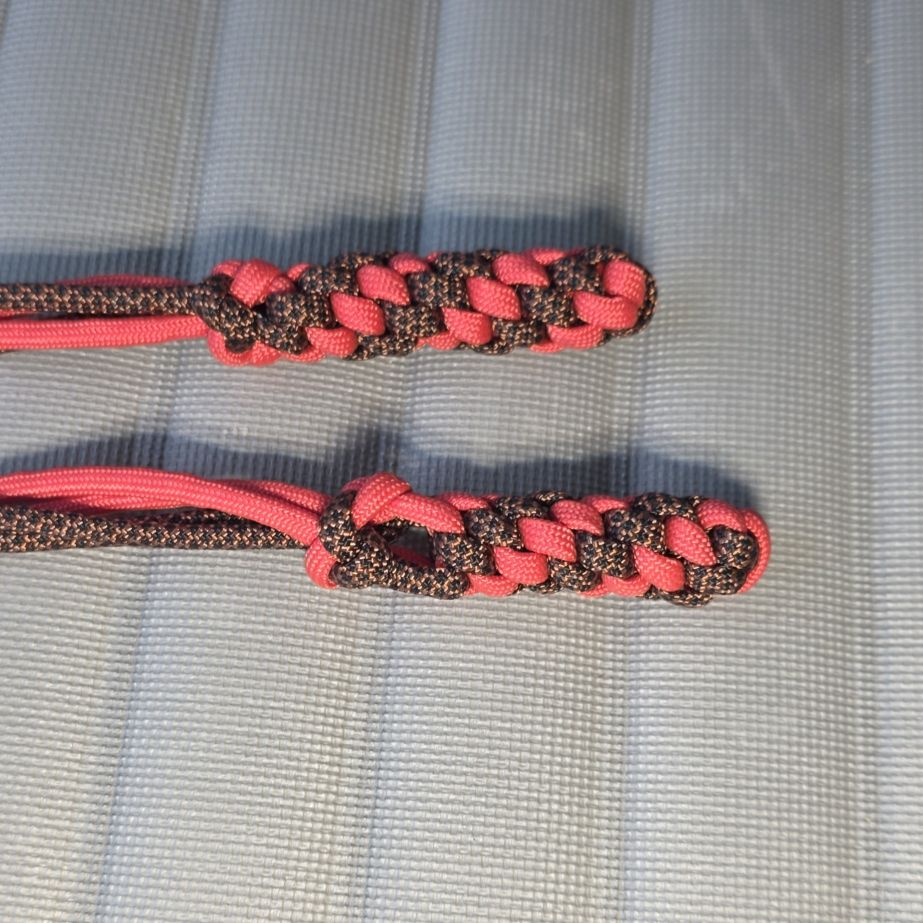
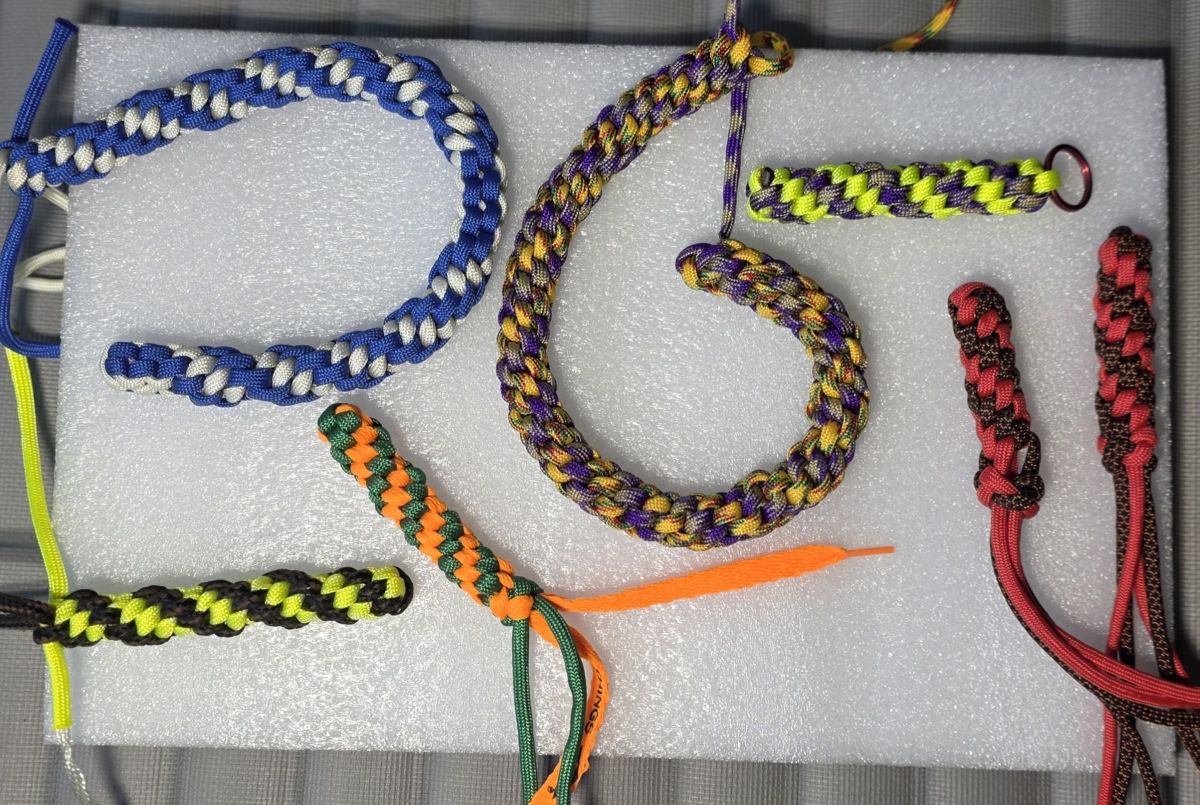
Ten box weave keychains, made as a thank-you gift, with a few color pairings that felt right (fire stripe/black, neon yellow/purple, fire stripe/gray and others). The foothold knot (or any finishing knot) came out at the end of the creation of this set as a way to finish a keychain without having to melt the ends. Flush knot versus small gap is a completely different look and feel. Leaving trailing ends after the knot, also creates a varied finished look. All possibilities work, choosing one is up to the crafter.
A swirled pattern with the box weave also came out from creating this set, however only after I had finished the original 10. Same setup, same cord usage, slightly different weave and a softer feeling for the end result. The swirled box weave in longer lengths could also be used for a handle or grip for a different project. Some stretching with the weave, but the elasticity means it can keep its shape and overall length.
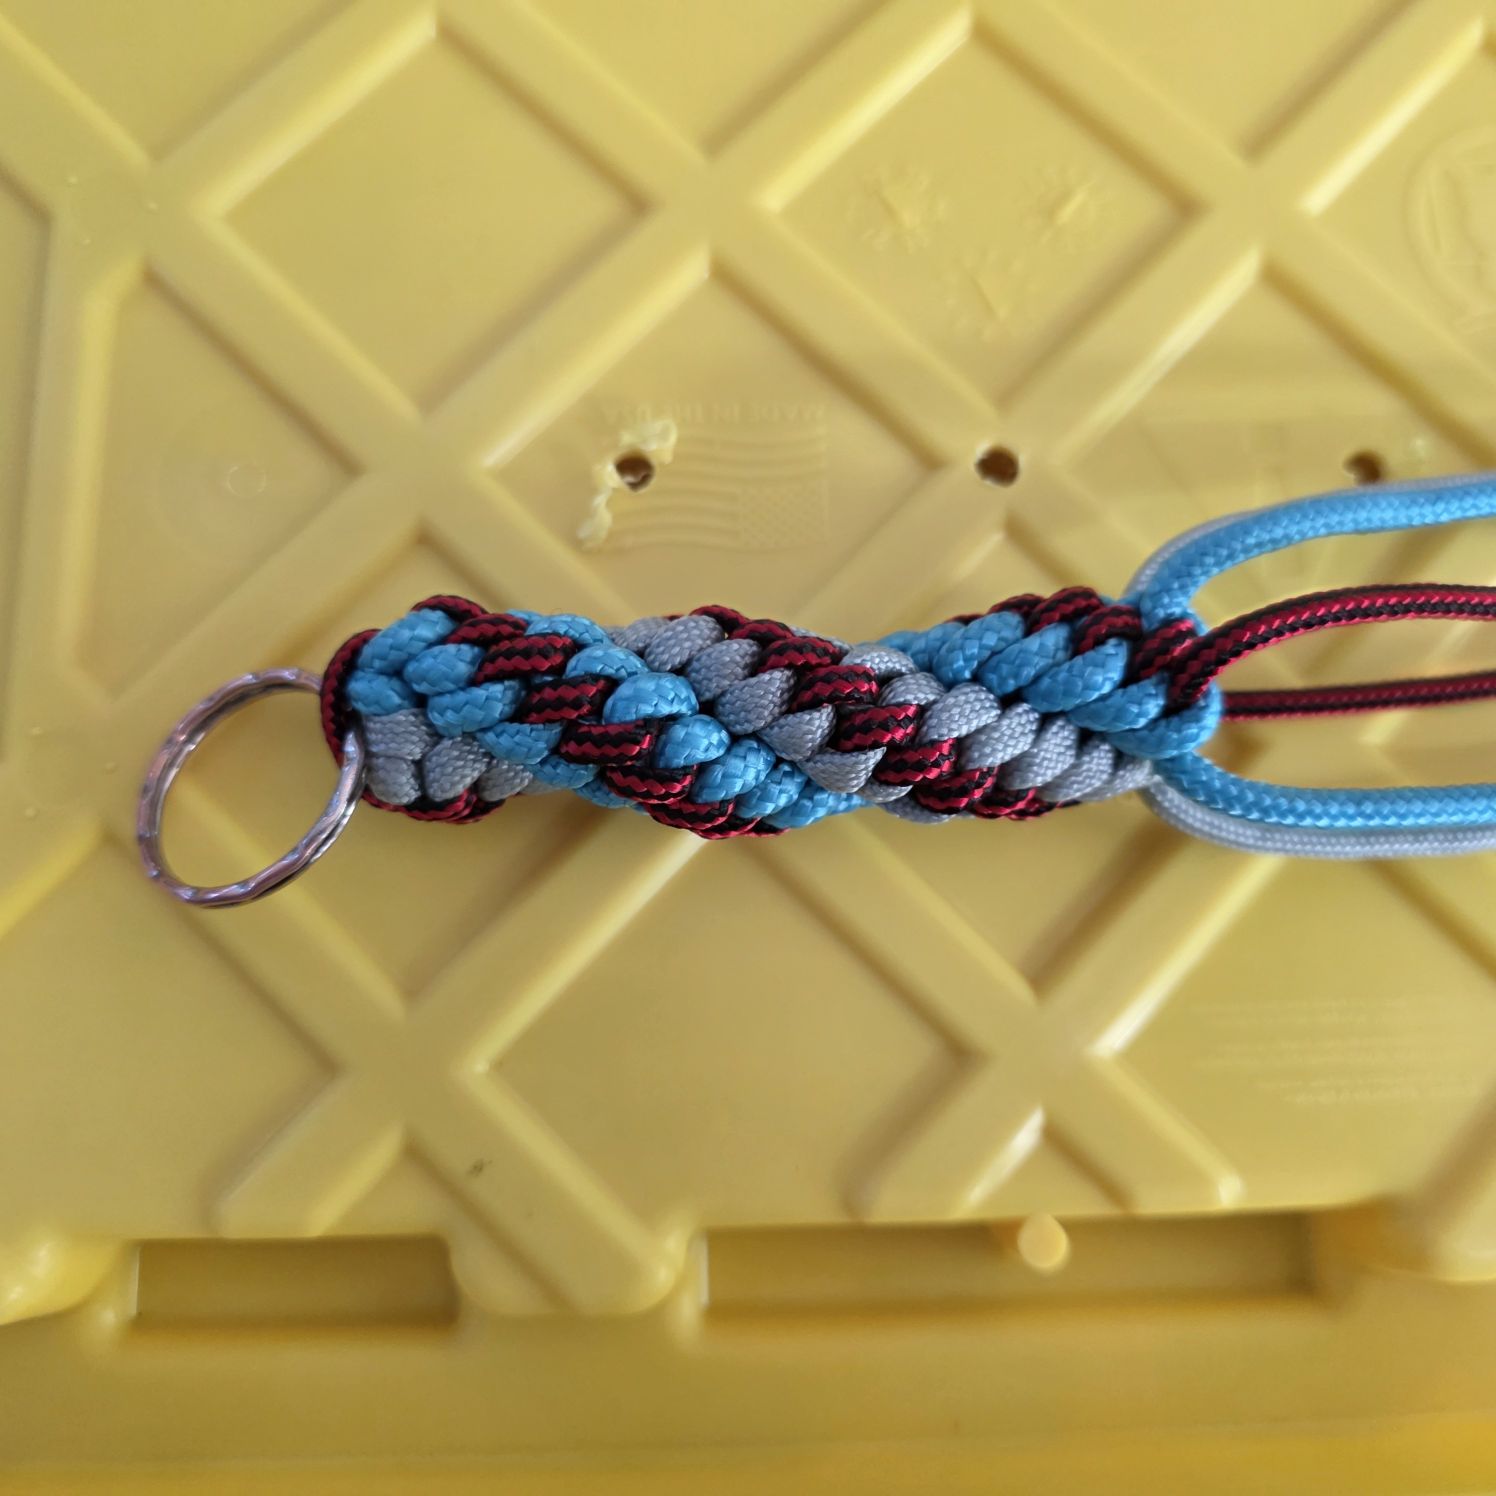
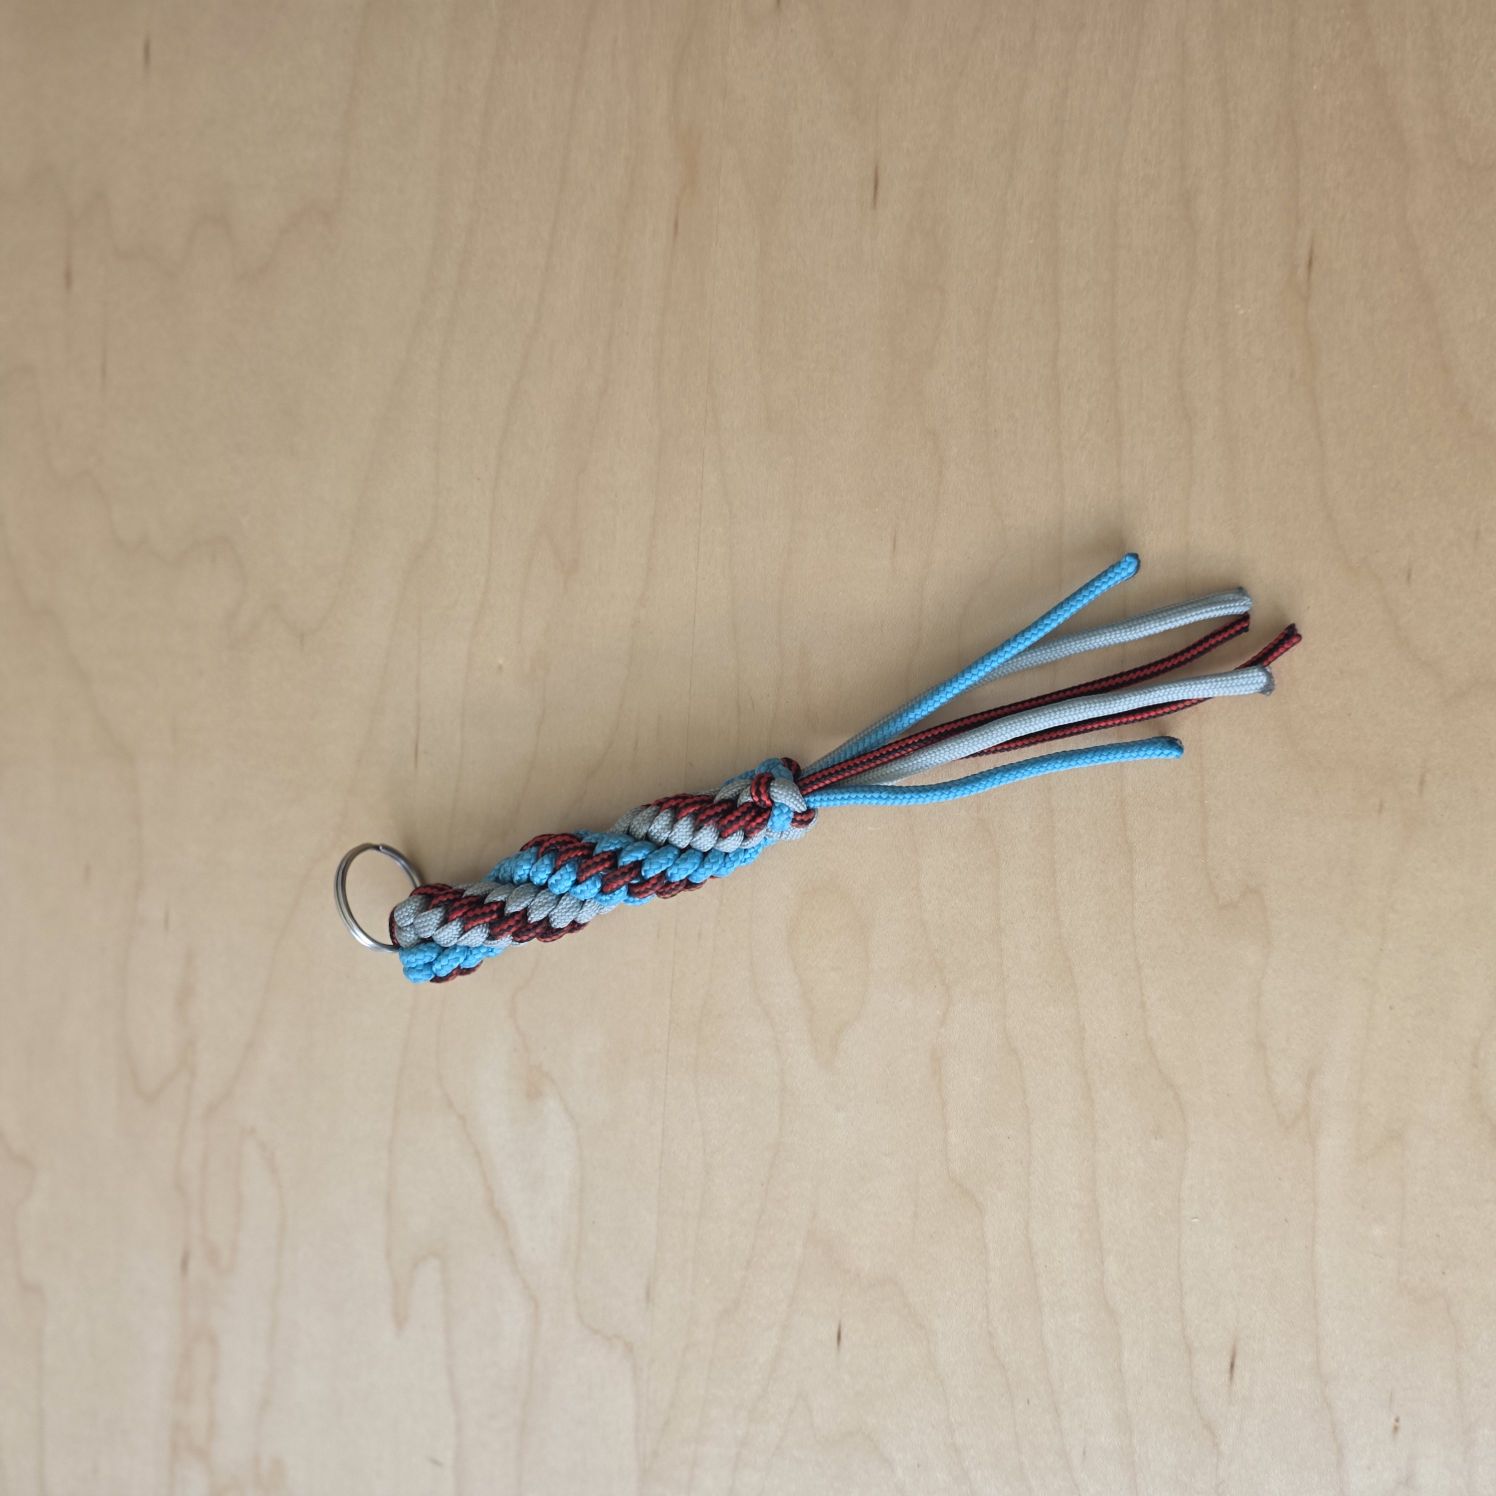
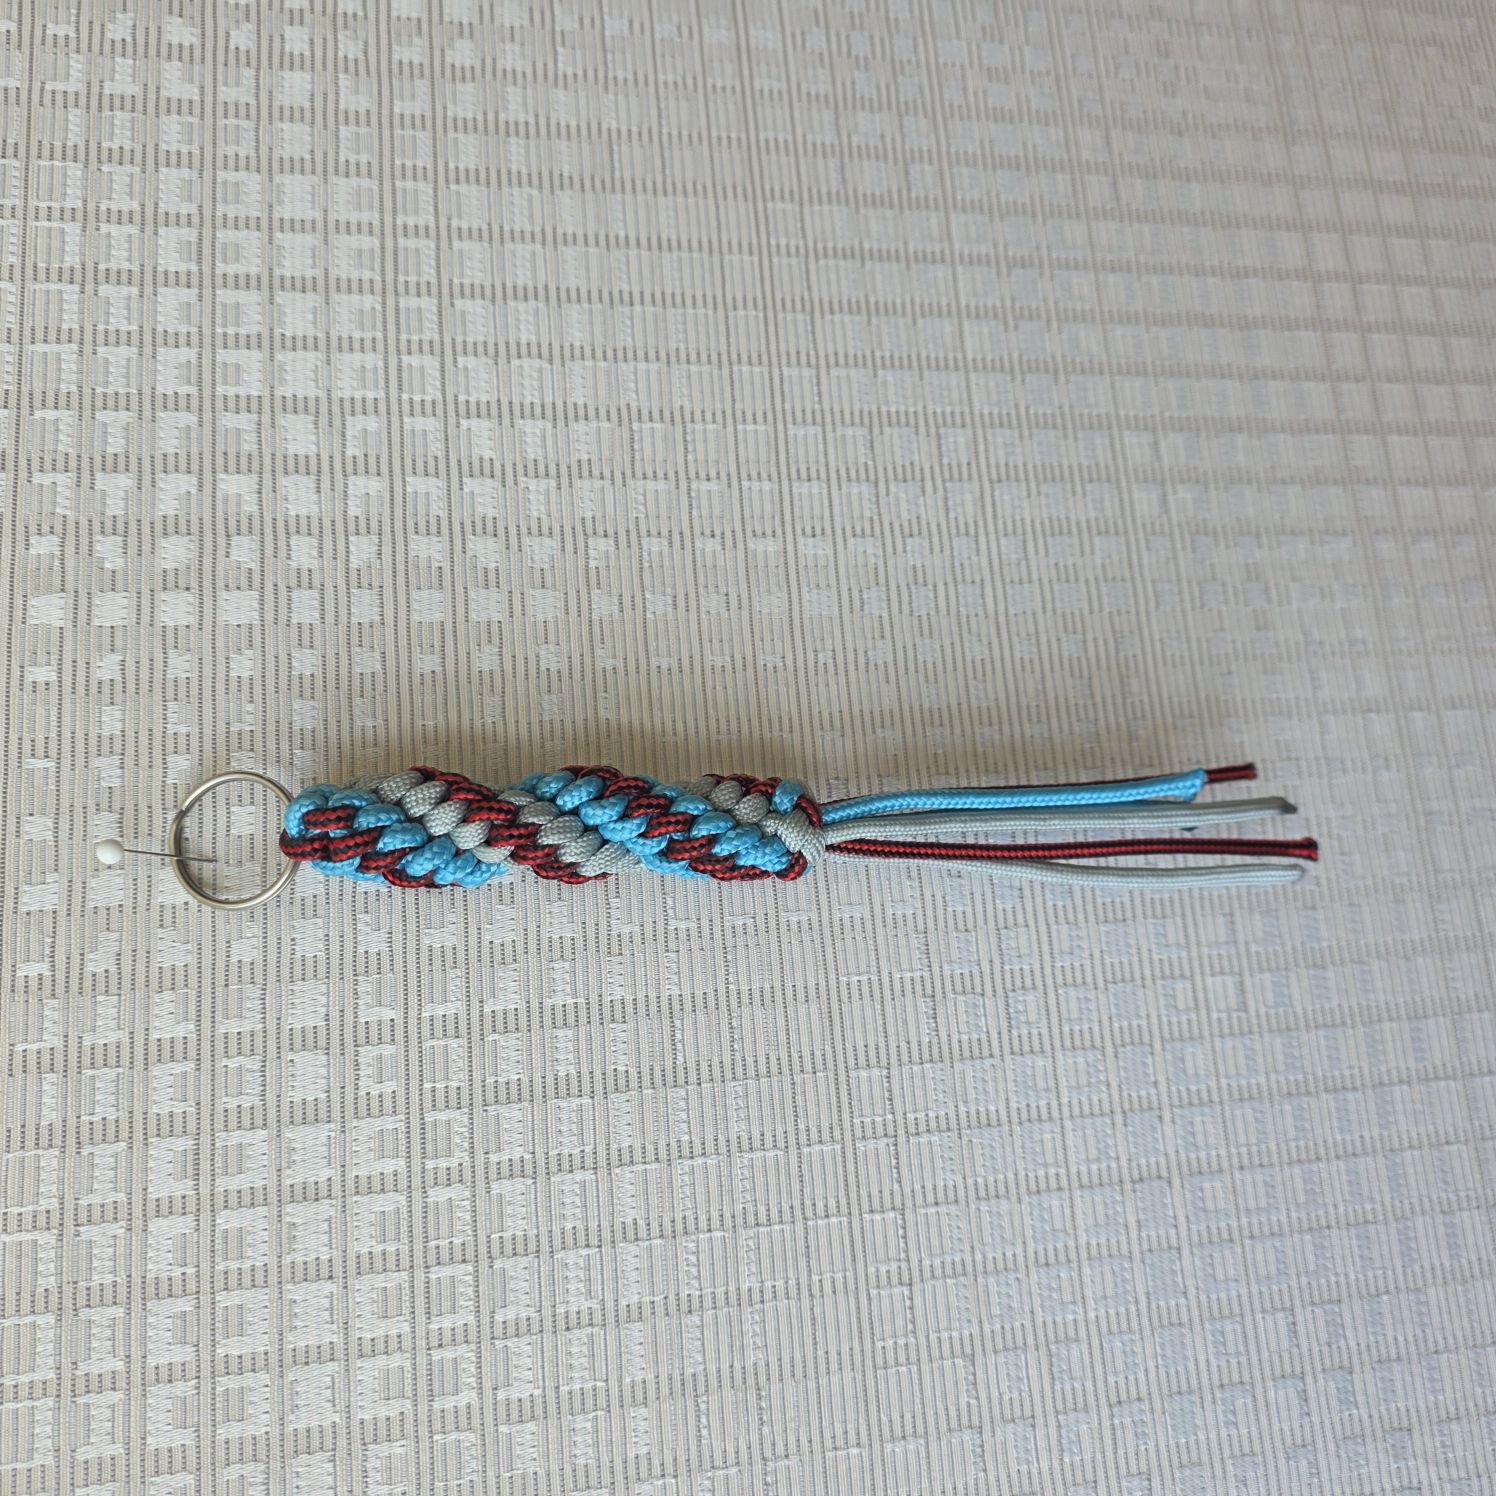
A three-strand spiral pattern, Tornado was the name used on YouTube, has a groove that is created by alternating the pattern every 2 turns. Using a thinner cord or even a gutted cord (remove the inner threads) and this groove could be accentuated. Turquoise and gray carry the body of the piece, with a metallic dark red running through the pattern, a distinct seam rather than a third background color. Finished with dangling fringe ends instead of a closed knot.
This grew directly out of an earlier three-strand test where two yellows were too close in value and merged into each other instead of reading as separate cords. The metallic red here is the opposite move: a cord picked specifically to stand apart and read as a seam, and it works.
Two similar-value colors in the same pattern will merge rather than separate. A third strand meant to stand out needs real contrast. Visually pairing colors is easy for some people, more difficult for others.
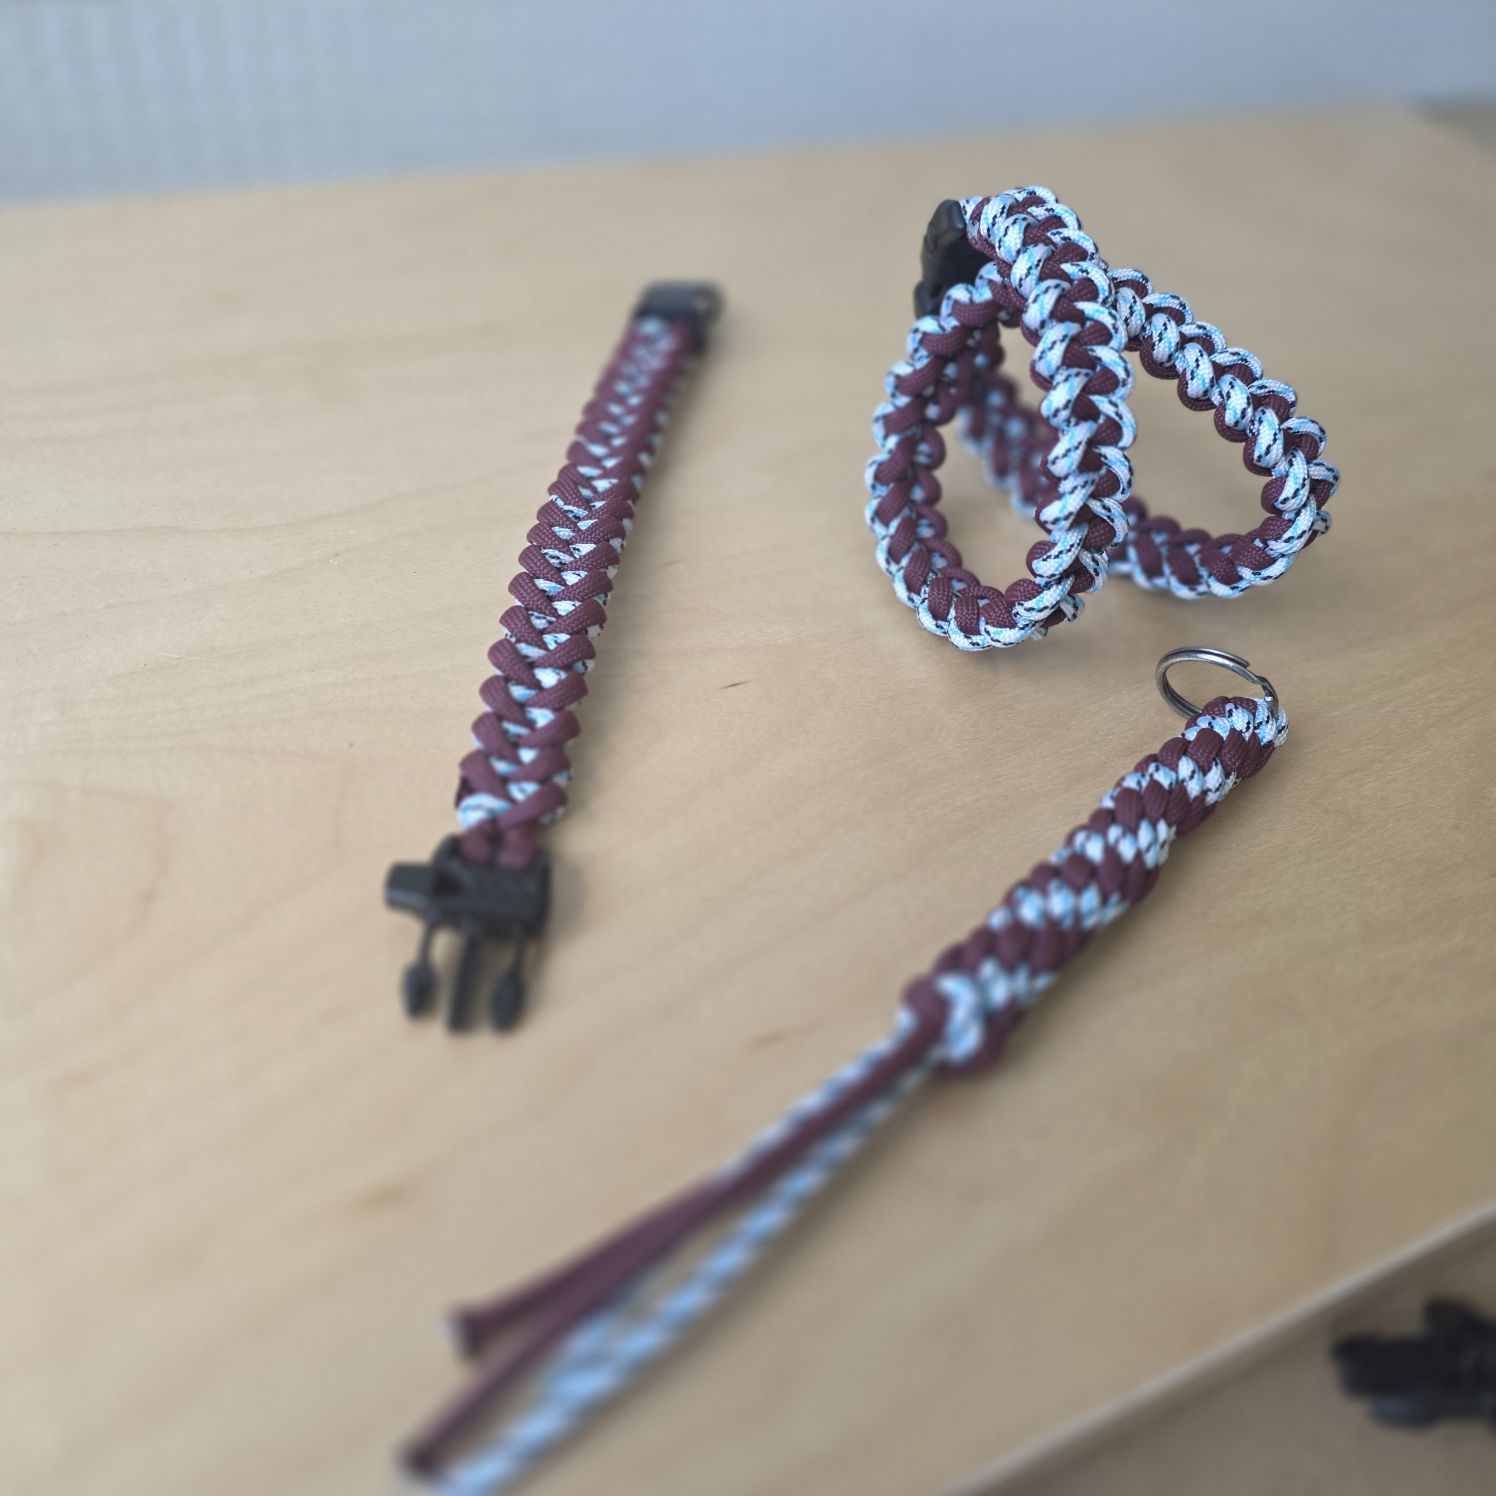
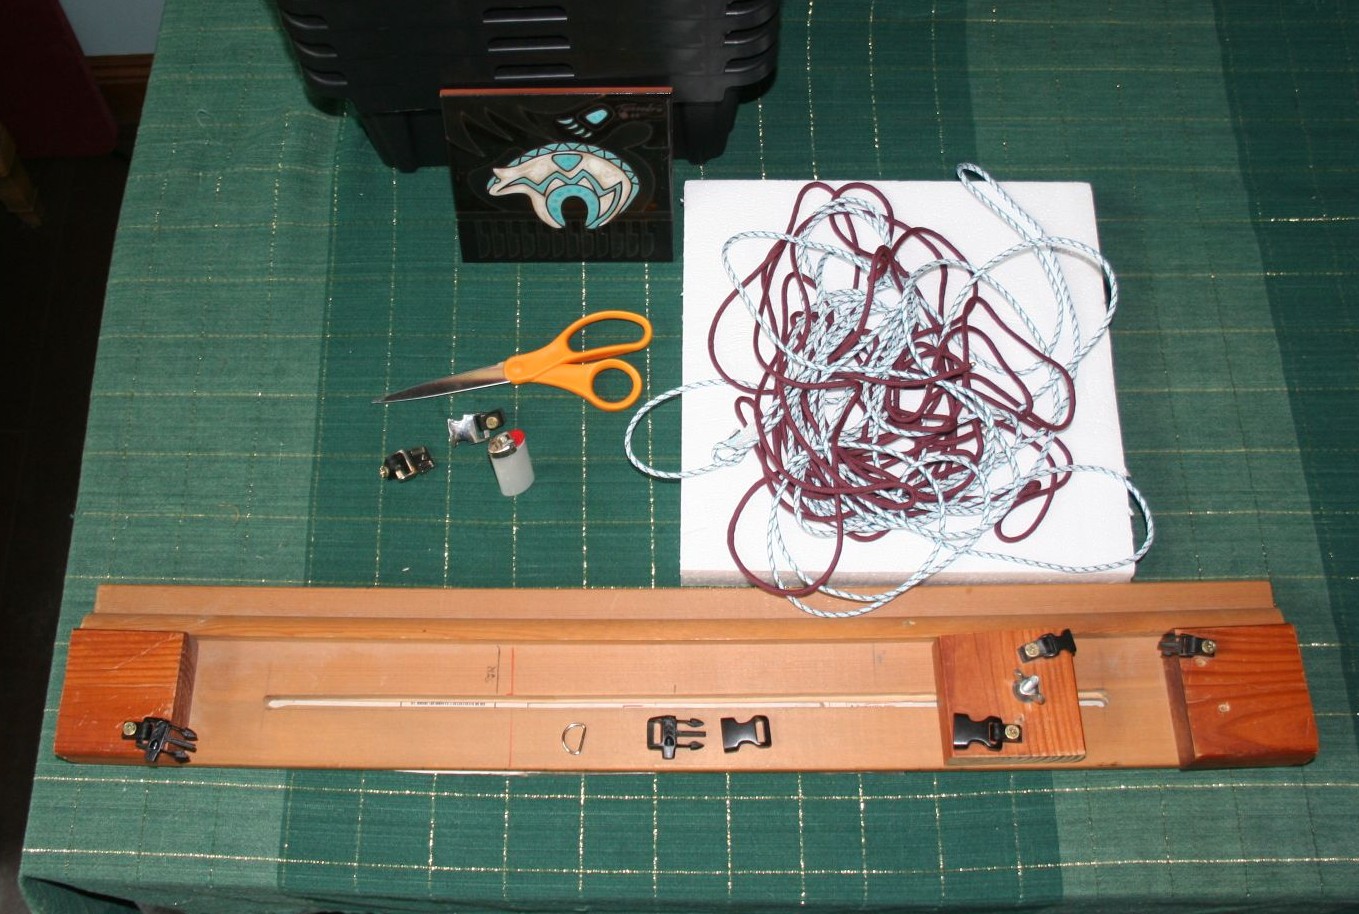
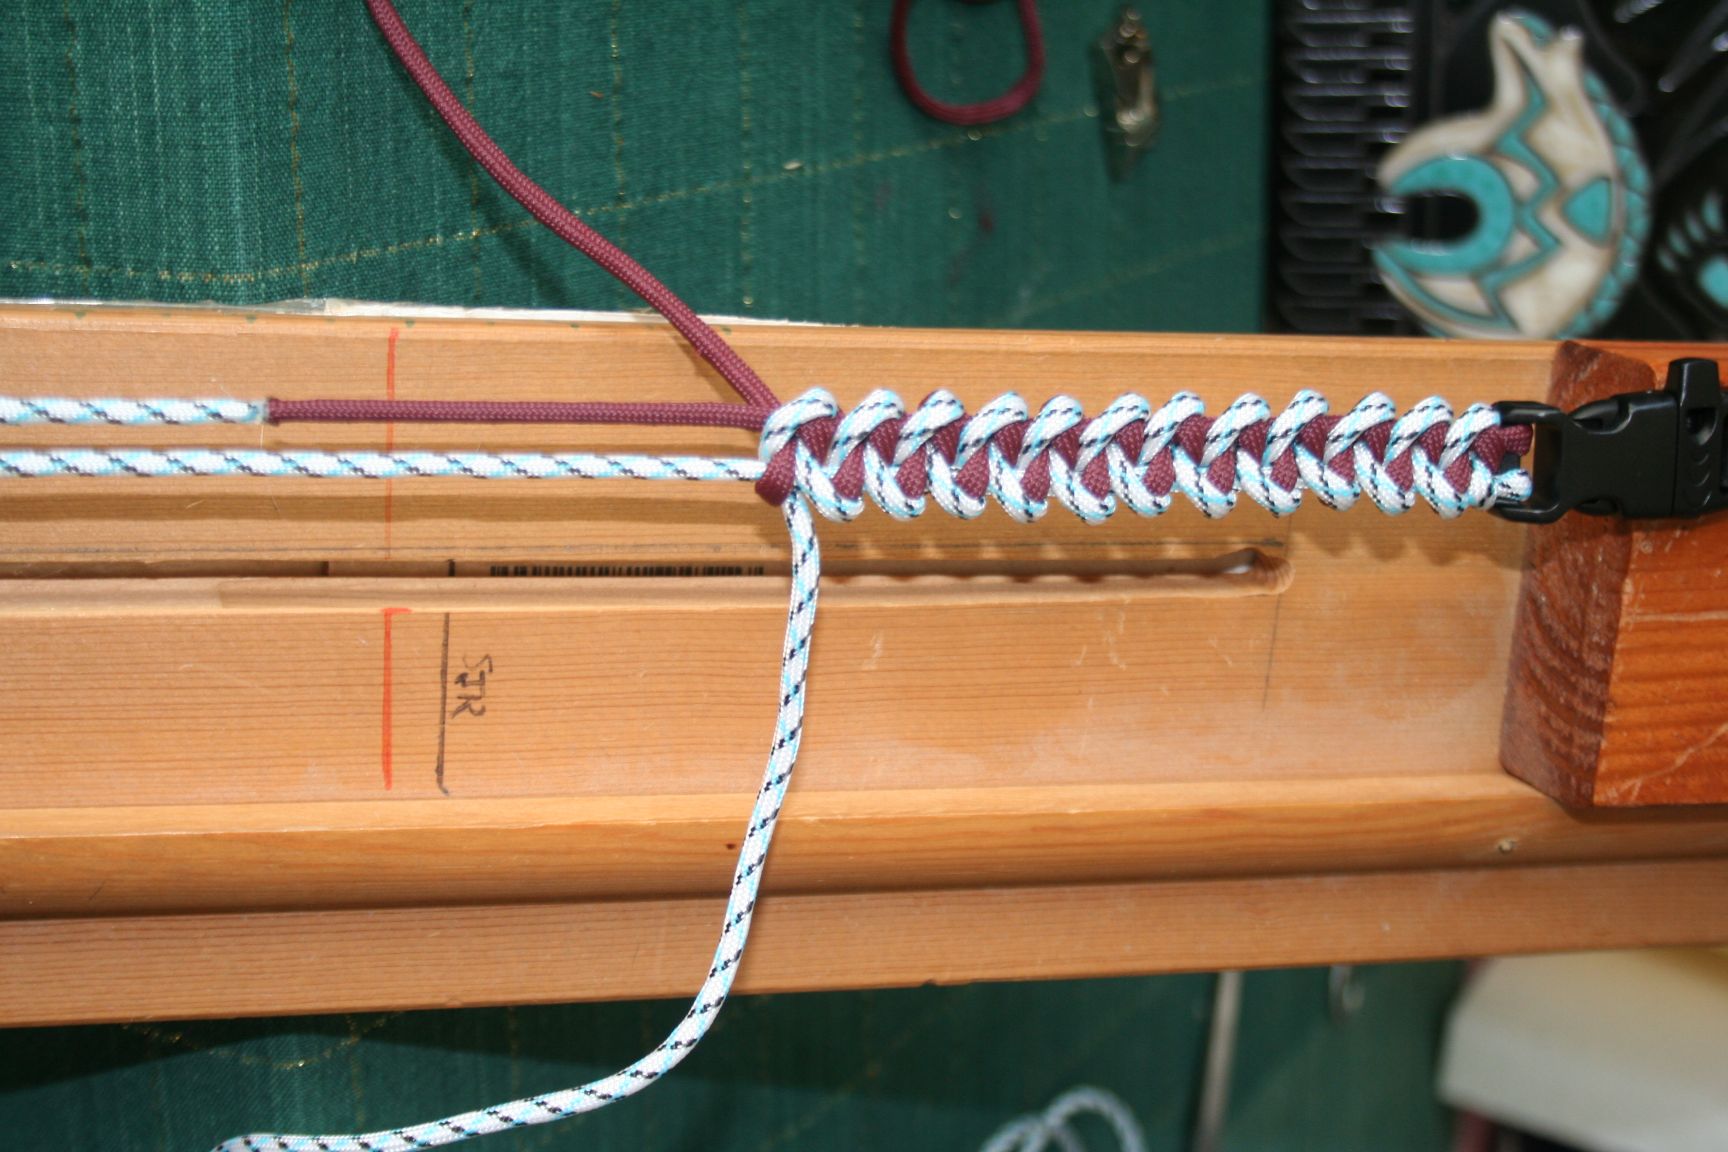
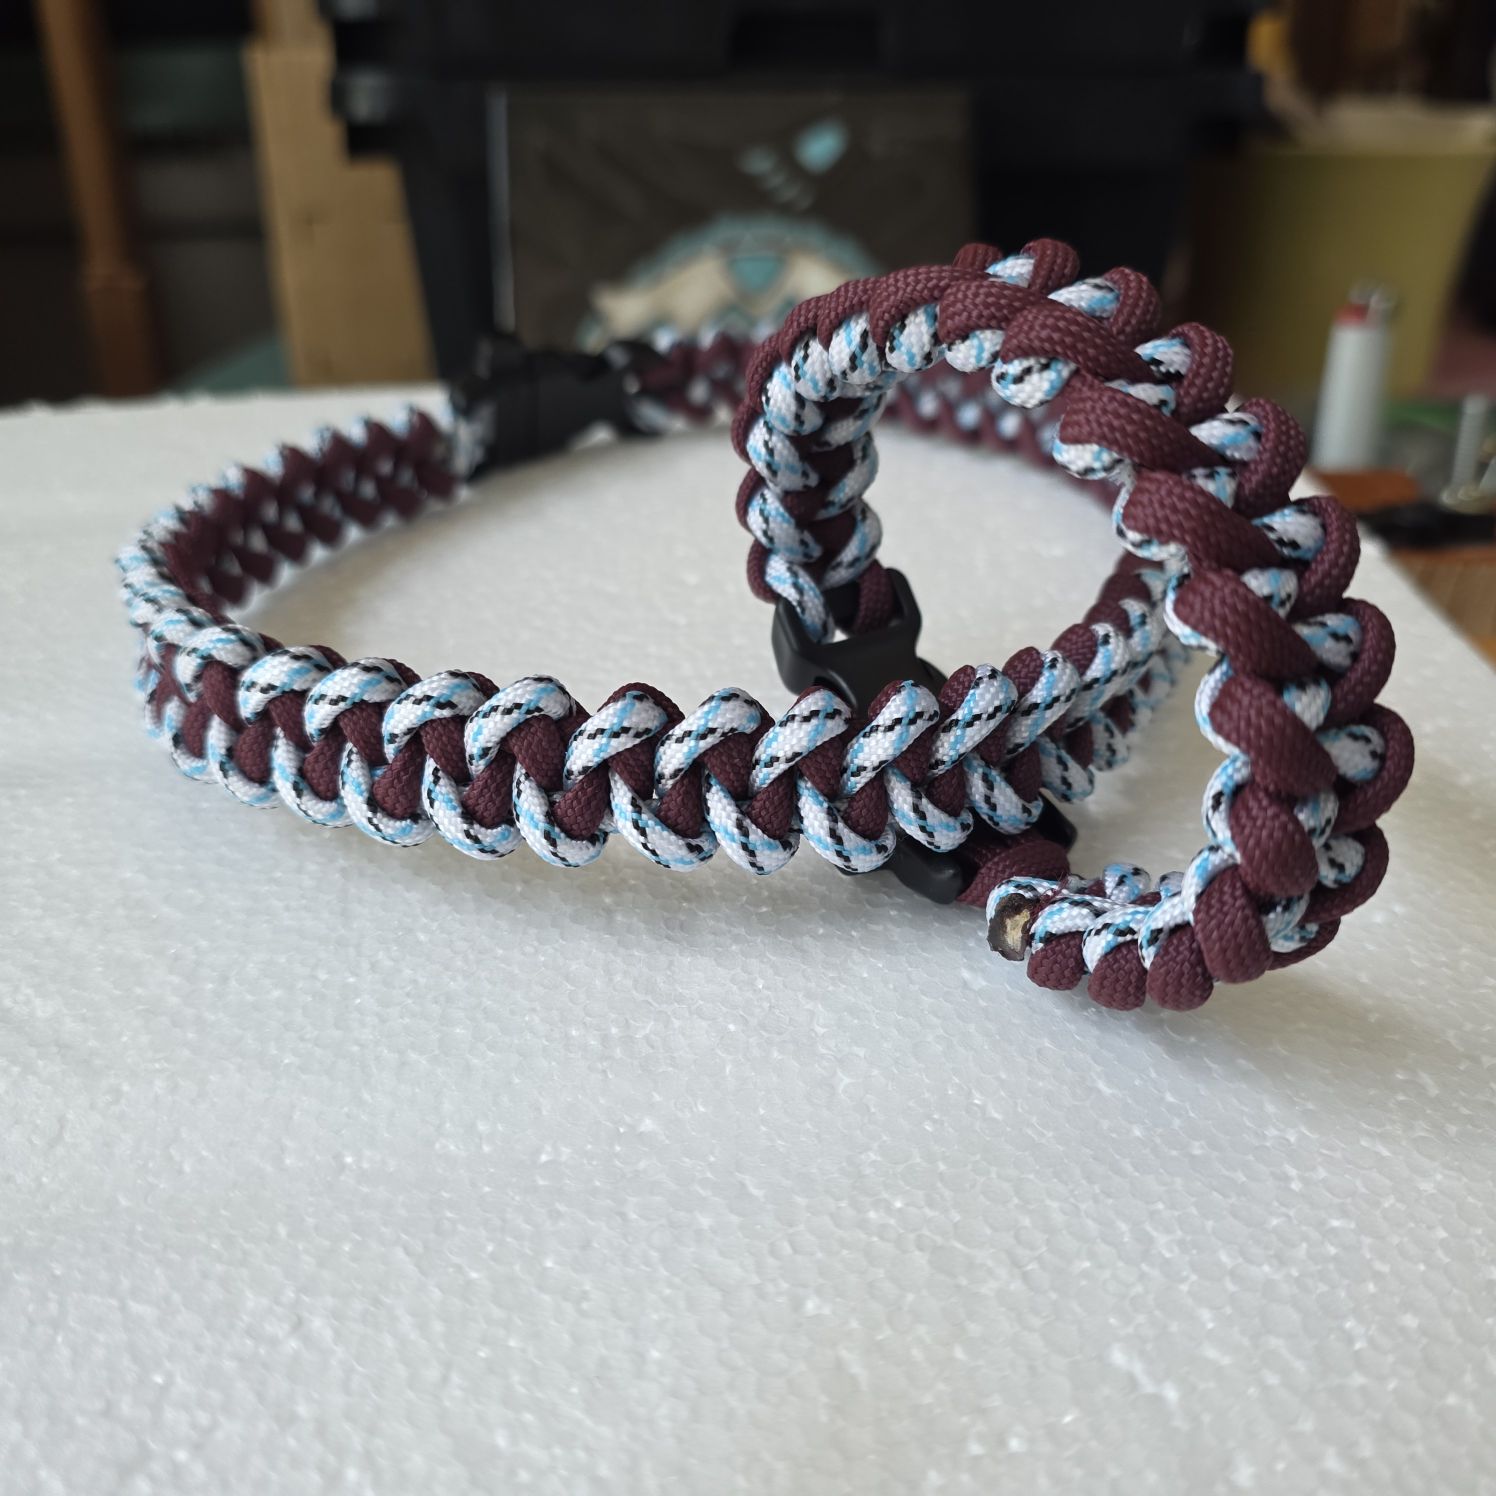
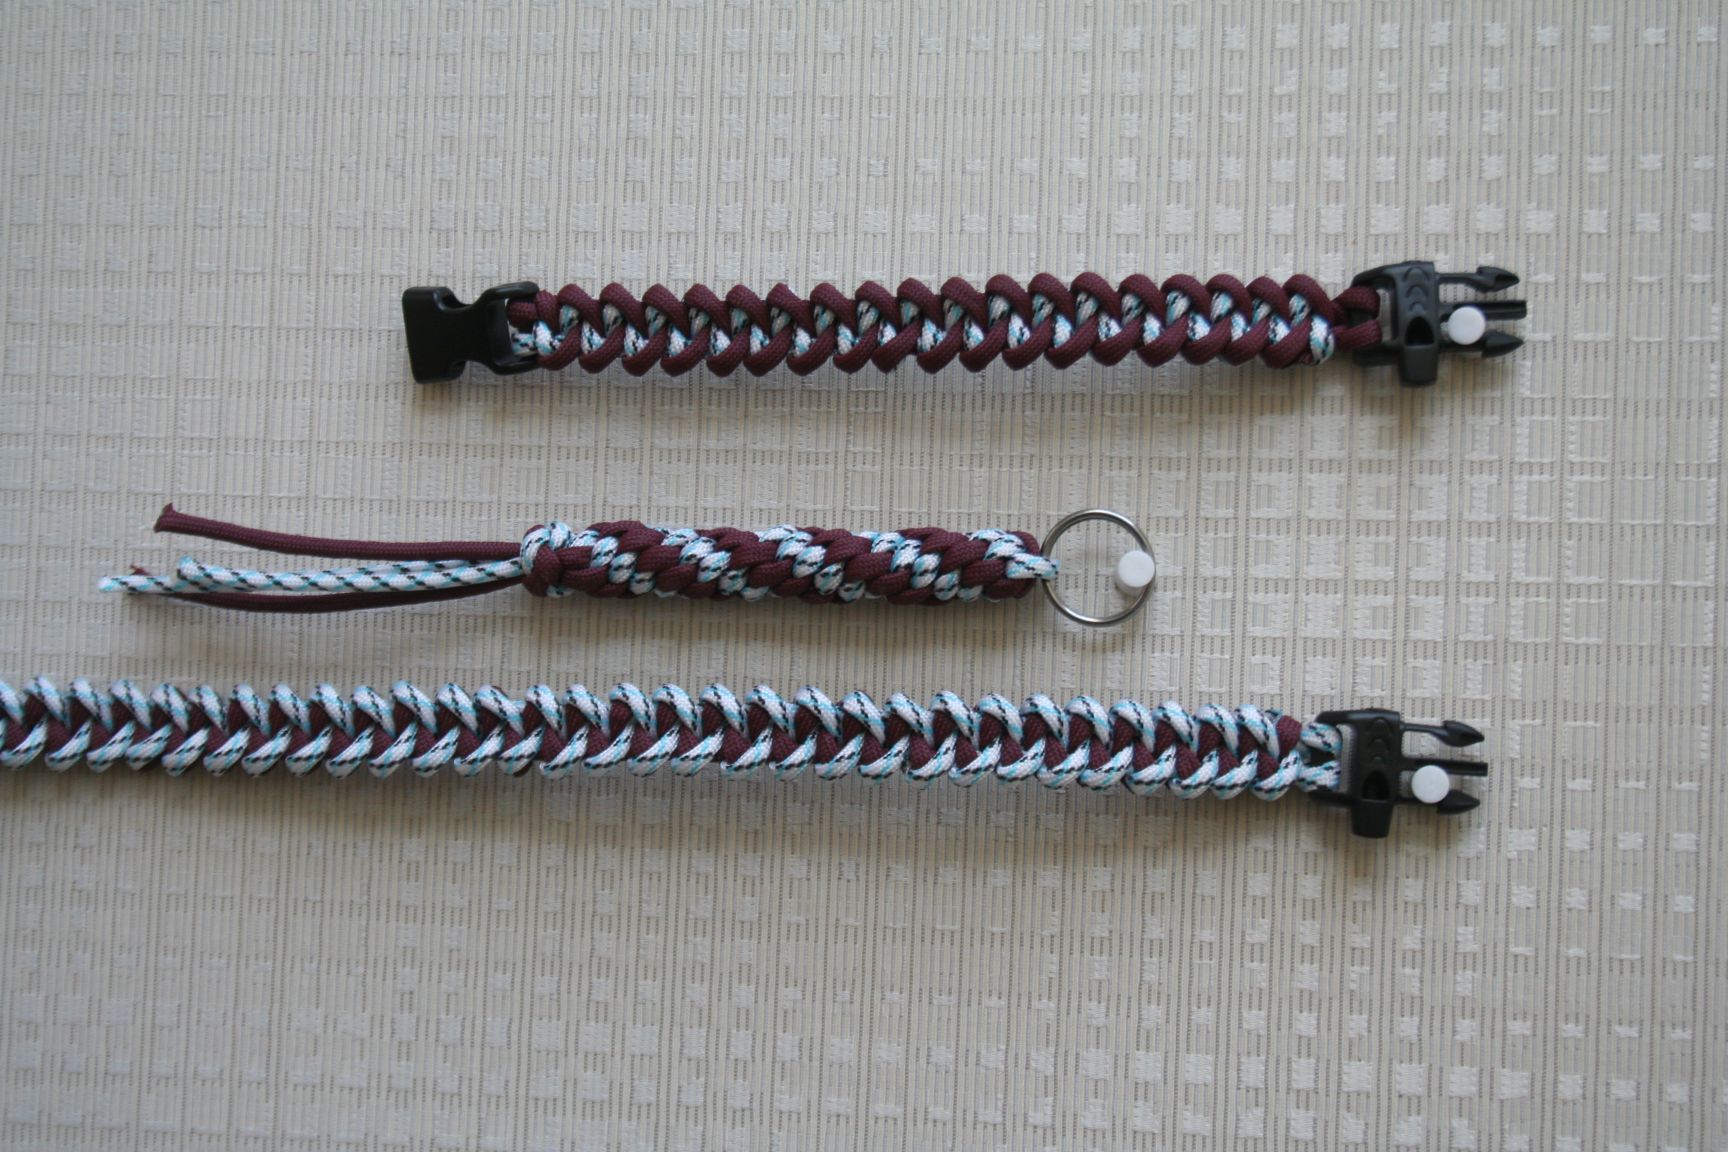
A shark jawbone bracelet and collar set, made as a thank-you rather than a request, for a family that put real effort into a rescue dog and found her the right home. Easy to learn pattern was new to me. Color pairing: maroon against a light white/blue/black diamond cord.
The collar runs light-dominant, the "bite" color meant to pop against dark fur. The bracelet flips it, maroon-dominant, a more muted read for a man's wrist. Same two colors, same pattern, dominant color swapped depending on who's wearing it.
A matched set reads as a set. An inverted one reads as a pair that belongs together without repeating itself: same two colors, ordered differently for the dog and the person. Brighter and more feminine for the collar, darker and more masculine for the bracelet and the intent came through the way I envisioned. The pattern, while reversible, would be less comfortable for the bracelet as the buckle is flipped, but it is an option. Some patterns look the same on both sides, so reversing them barely changes anything. Others are asymmetric, with a completely different look on the back.
My measurements were off for this build from the start, plus I wanted extra to build a matching keychain. Planning the build should include more accurate cord usage. In this case, I was pulling through an extra 10 to 15 feet of cord for every 'row'. This was compounded because the collar itself took three attempts: the melted fuse failed twice before I switched to the Manny Method for the third build. More on that in Threads. The tag ring forgotten in the process and I feel that turned out to be the right call. The weave reads cleaner without it.
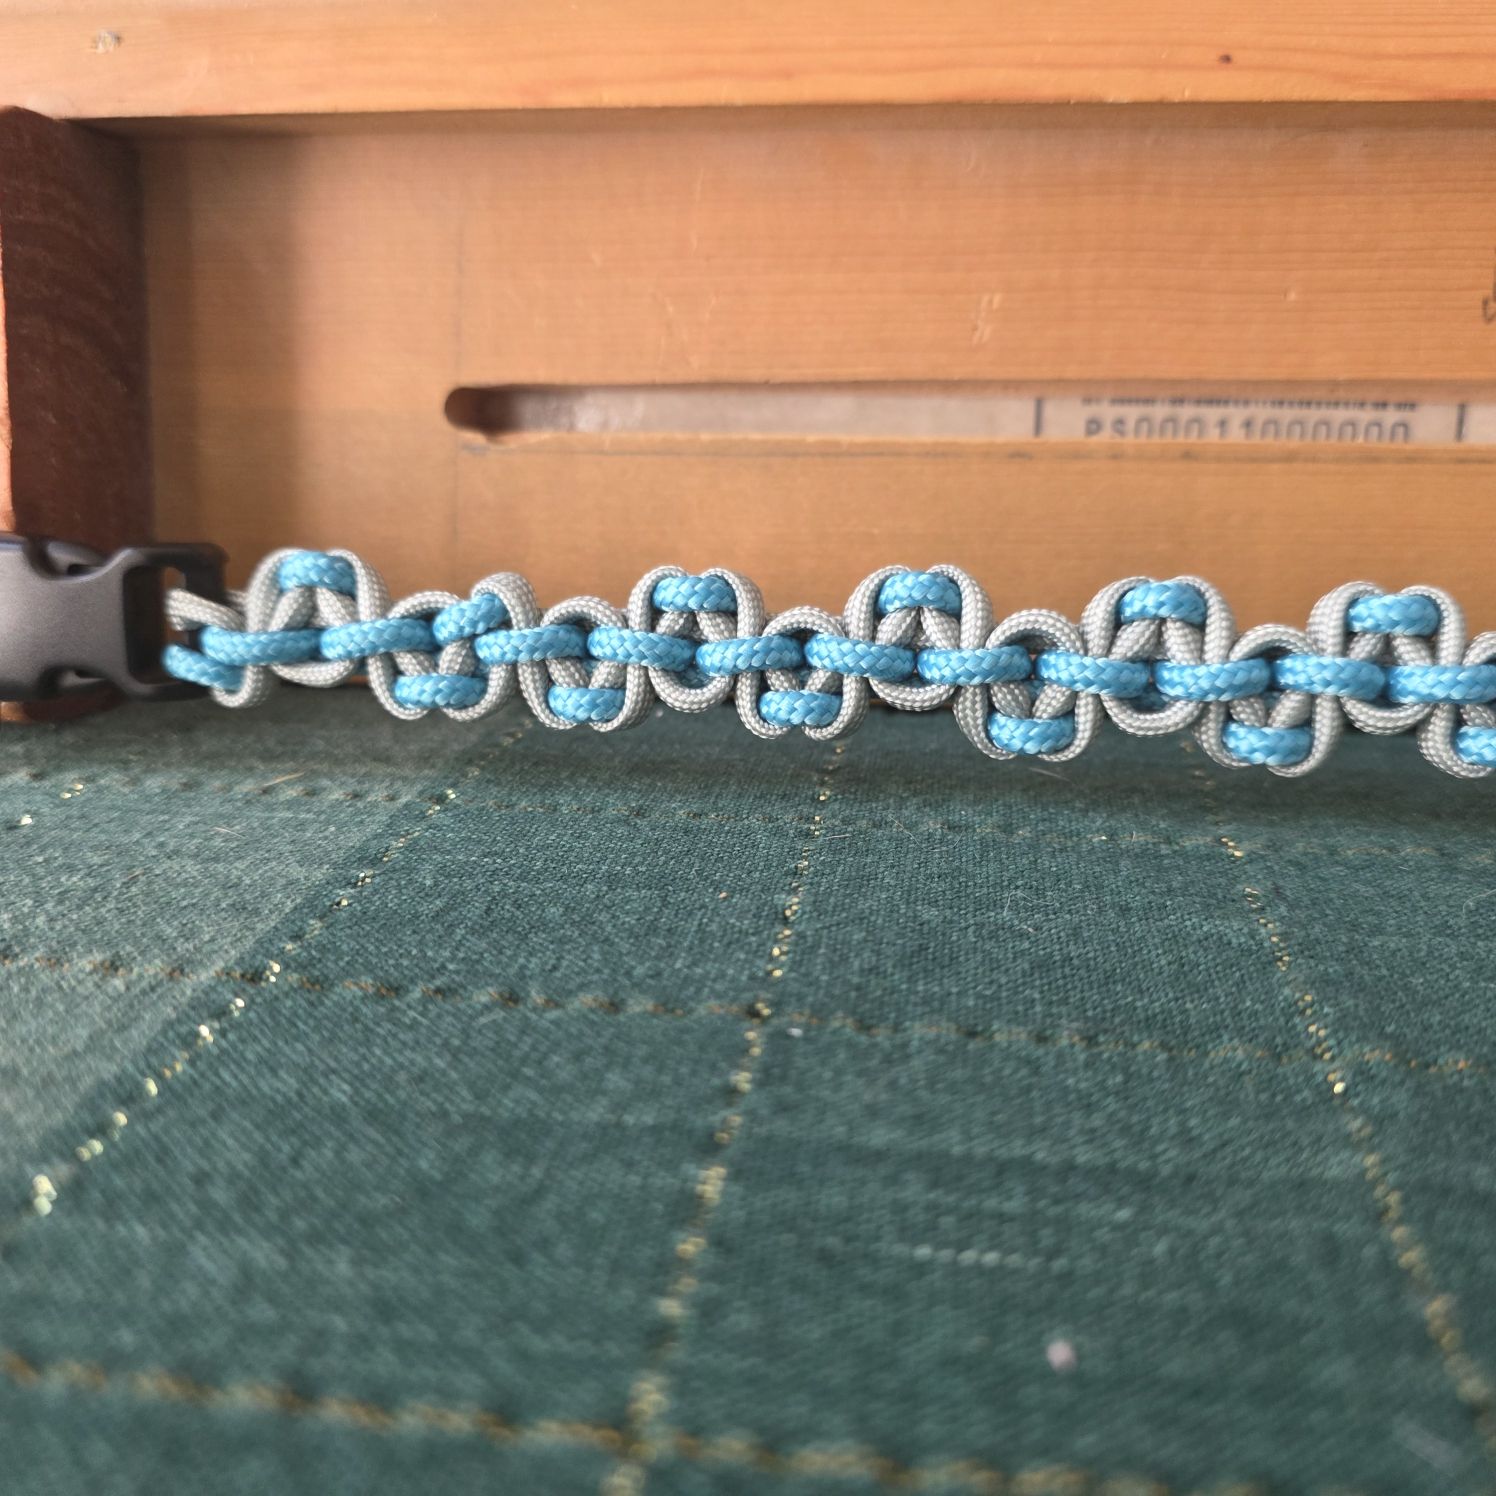
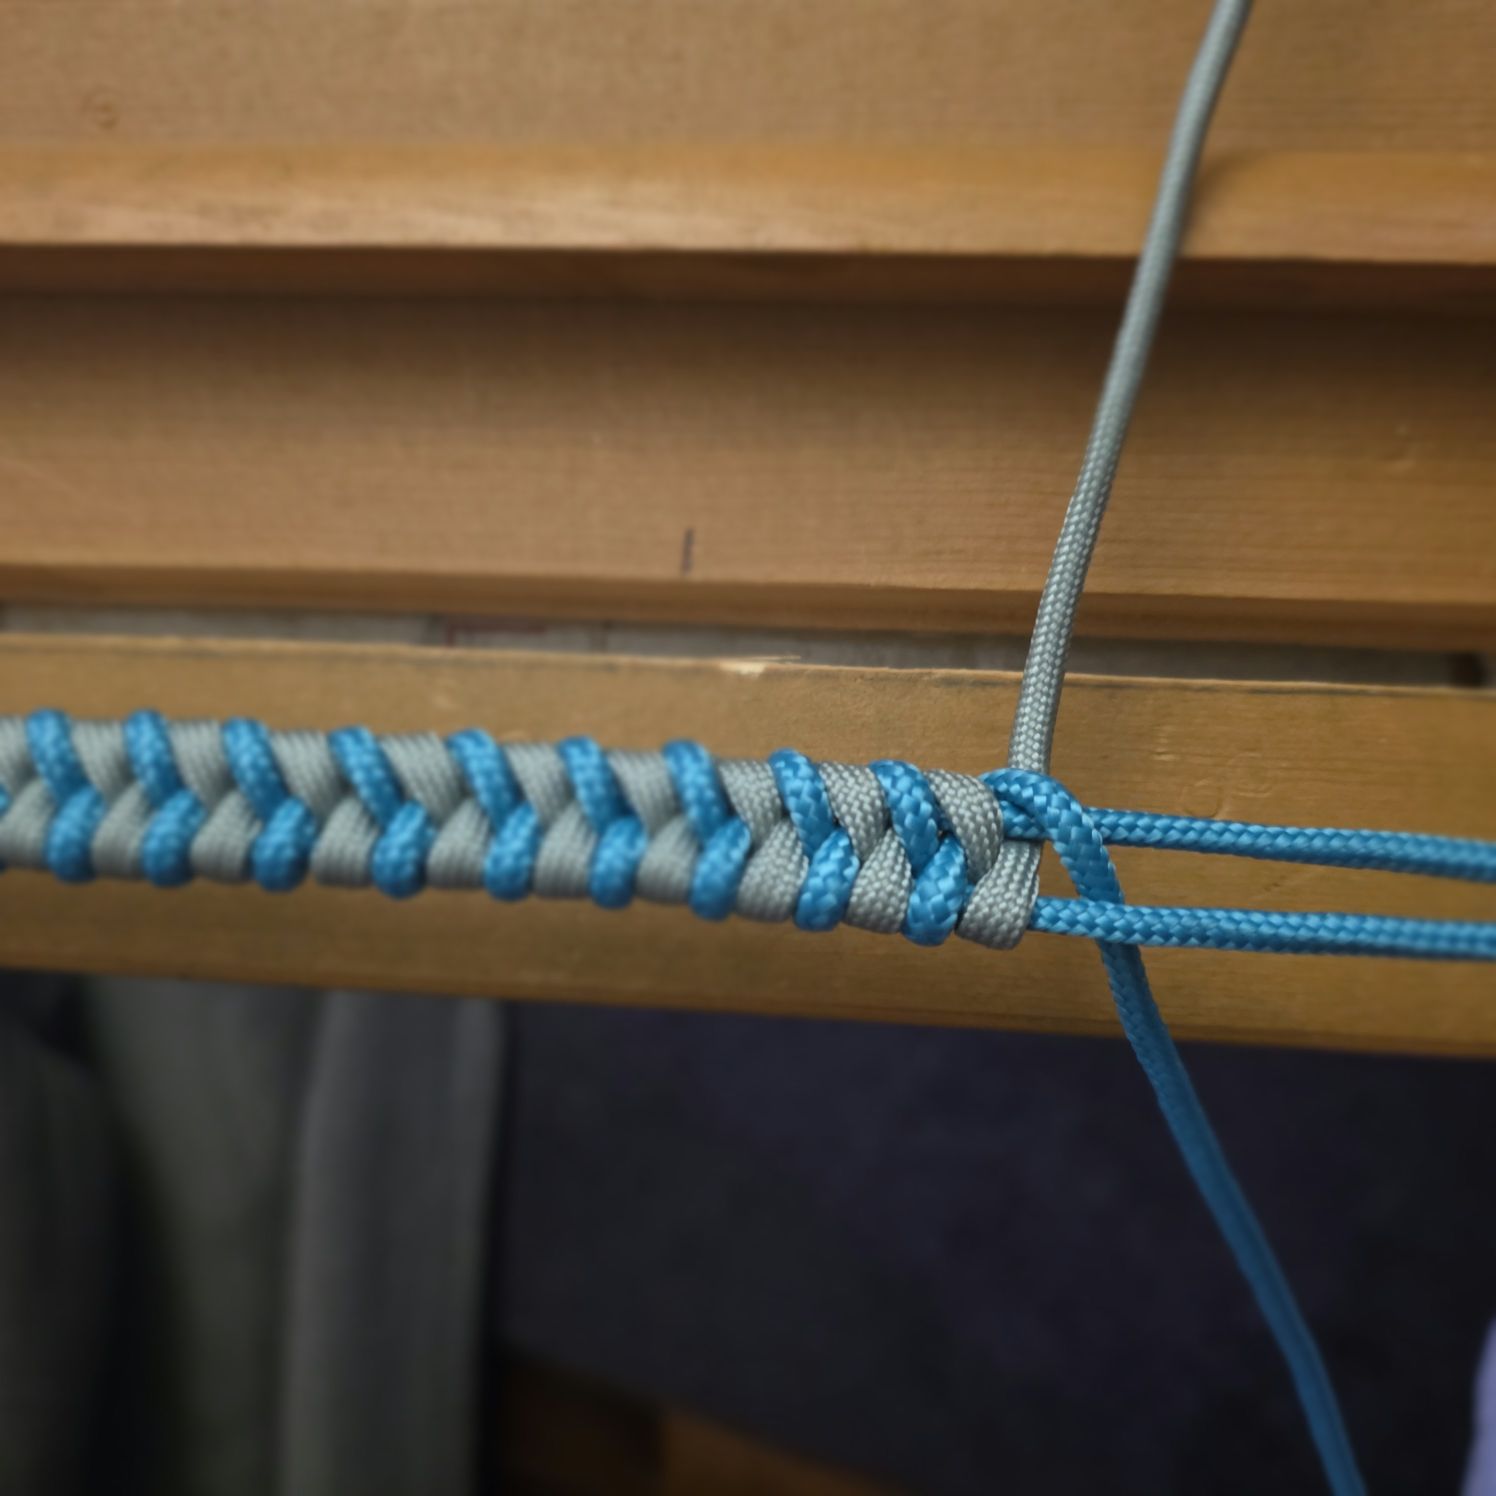
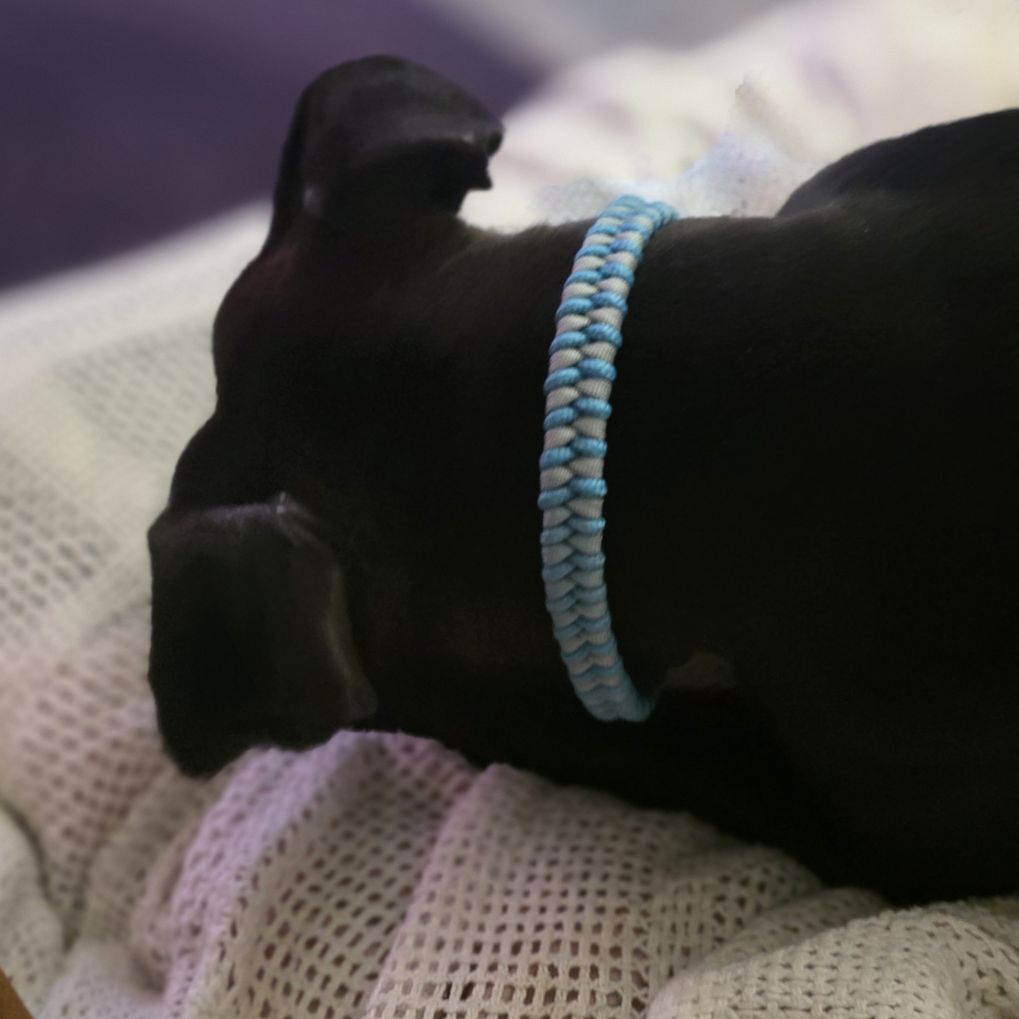
Serpent river was the starting point for Momo, a petite pit-mix, turquoise and gray chosen over something bolder like fuchsia since the pattern's own texture was meant to carry the piece. A test build came first, then a full build in the real colors. Both pointed to the same two things: a clean, consistent look out of serpent river means compressing the weave laterally, and that only works with the right cord. Two cords were on hand for this, one with a rounded profile, one a standard compressive profile, and only the second one held up cleanly under that compression. End results were not as clean looking as I would have liked.
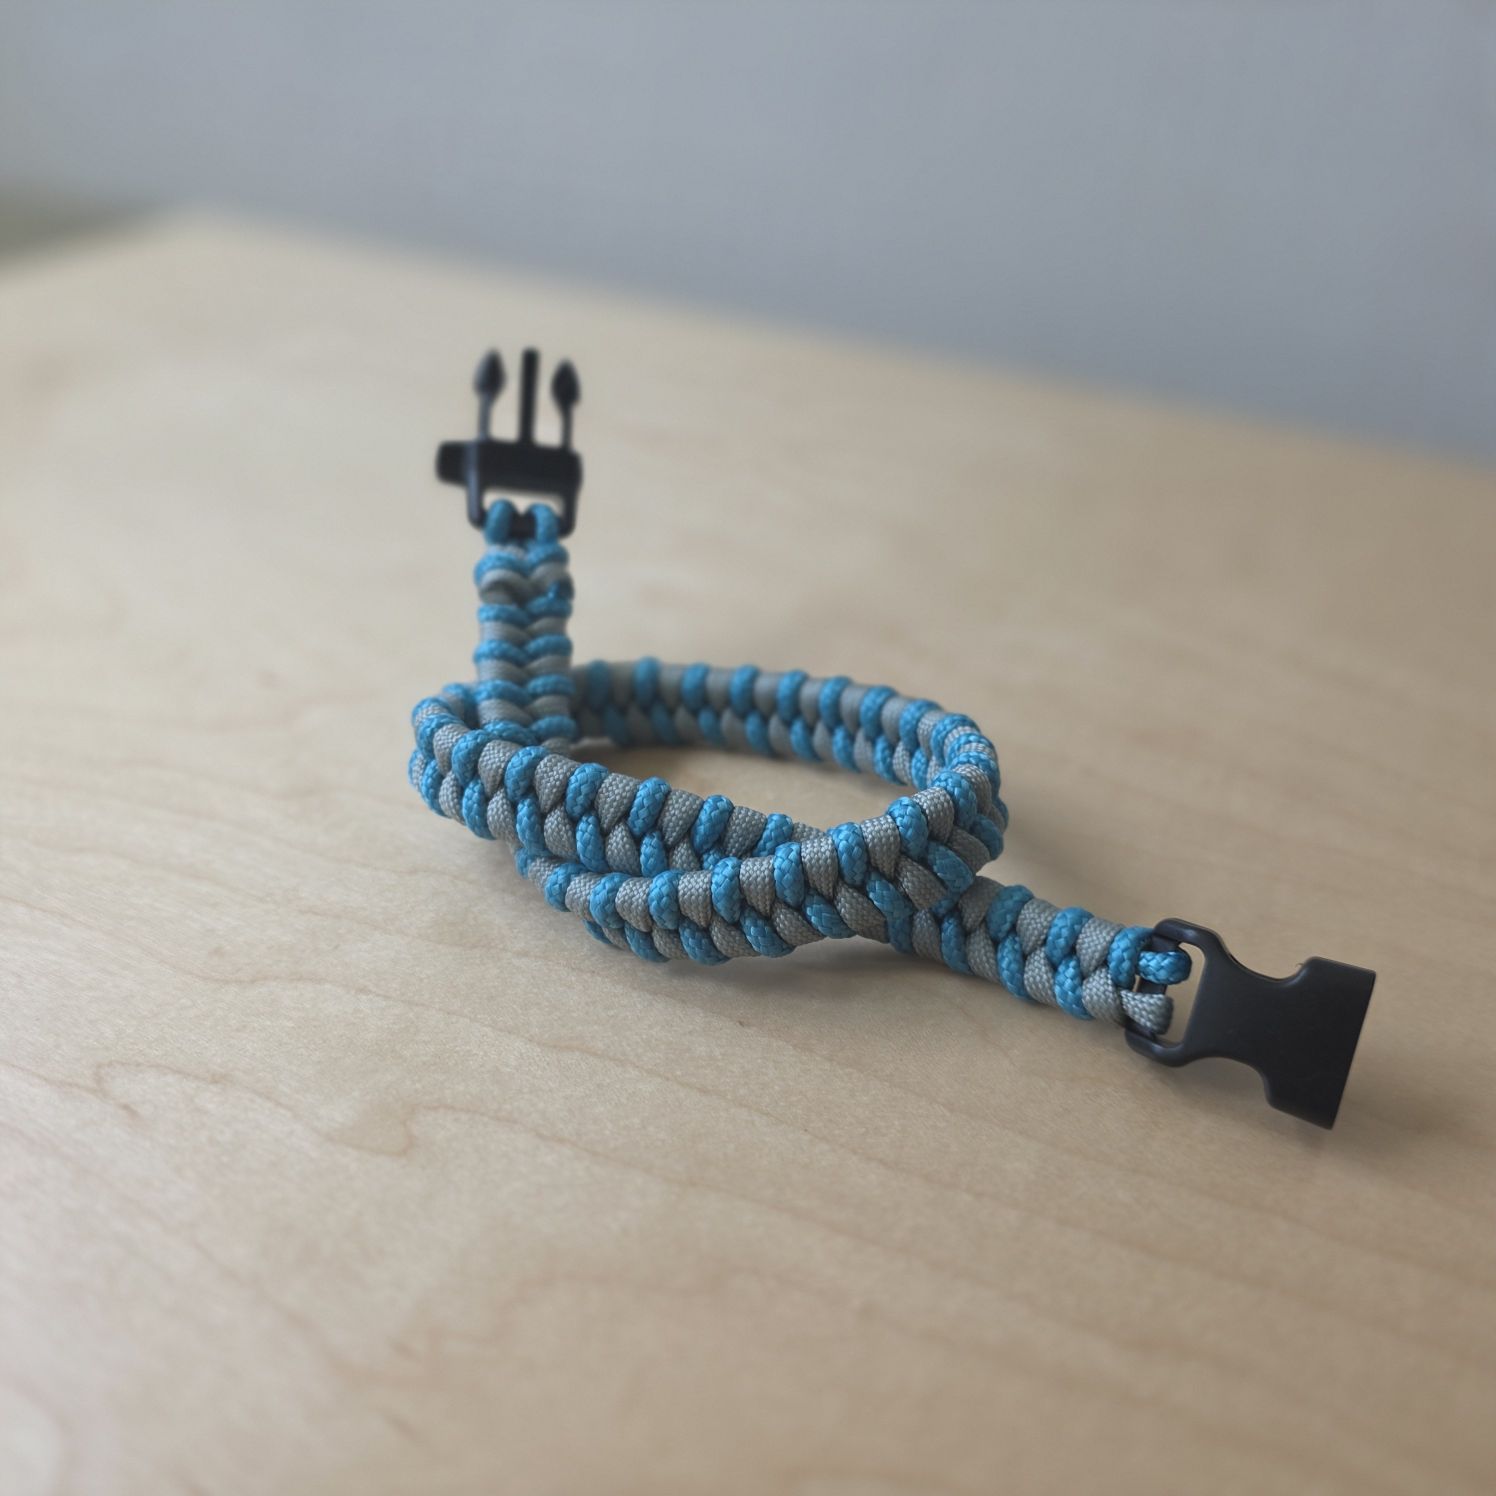
The finished serpent river collar sat on the table for two days before I decided that it was not the right pattern for these cords and Momo. The fix wasn't more practice on the same pattern or buying new cord, it was switching to fishtail, using the same color, the same cord already cut for serpent river. Nothing wasted, just redirected.
Fishtail reads tighter and more consistent at this scale without reading smaller: compact, not shrunk. Serpent river's texture is the whole appeal on a bigger, more forgiving collar; on a petite dog's neck, fishtail's tighter structure won out.
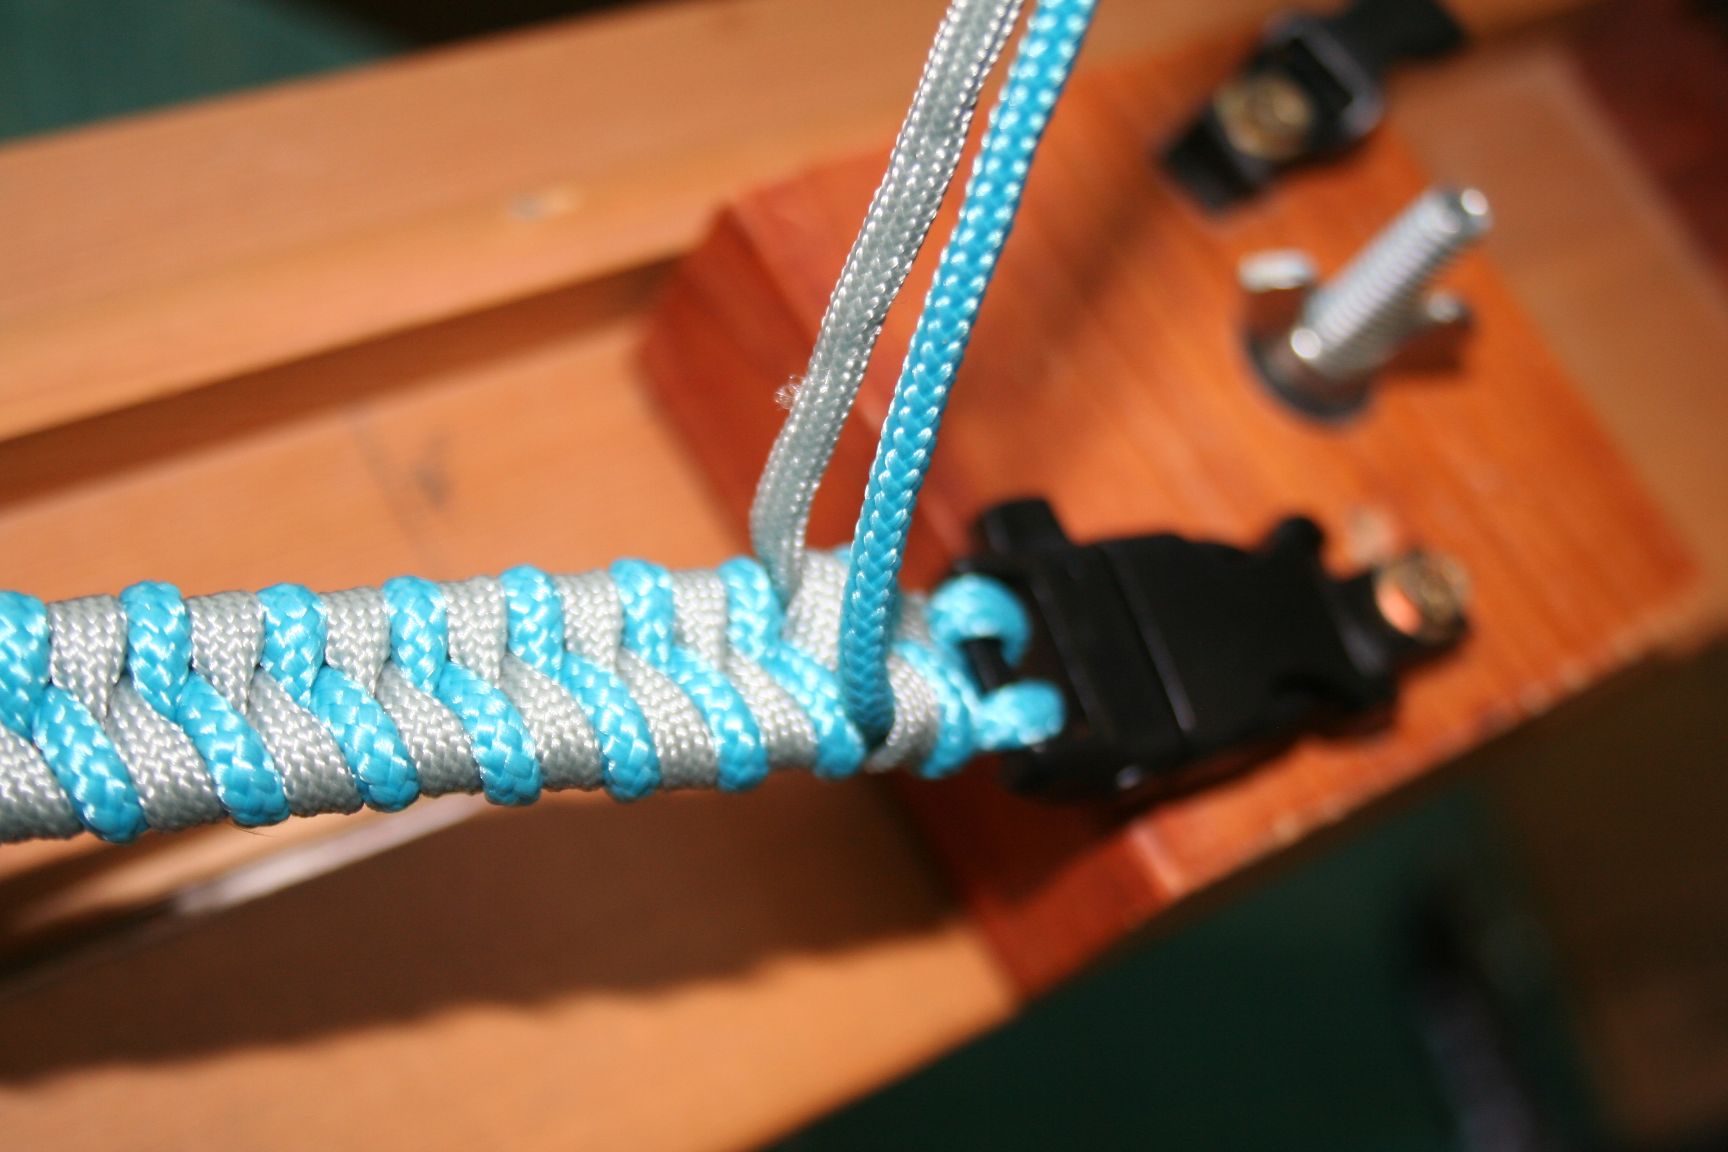
Prototype before committing to a new build. The pattern and the cord both need it. Two cords can share a size and color family and still behave completely differently under compression depending on the manufacturering, and that only shows up once you've actually knotted a few inches. The finish here was done by weaving the tail ends back through the existing weave rather than a knot or a fuse, a technique worth carrying to other patterns too.
None of the four builds happened in isolation. Each one turned one of the same handful of dials: fuse method, cord ratio, material, color separation. Looked at side by side, a better understanding of the materials and plans start to form.
The standard fuse is melt-and-squish: heat both ends, press them together, round the joint if you can. It's hit or miss depending on material and heat, and it works right up until it doesn't. It can pop apart later, under pressure, with no warning it was ever weak. What seems to hold it together reliably is matching manufacturer: two cords from the same maker, in bracelets built that way, have stayed fused. Mixing nylon and polyester cord is the more likely failure, and that's the best guess for what happened on Ringo's collar, though the exact cord specs weren't tracked closely enough to be sure. All that is certain is it broke, more than once.
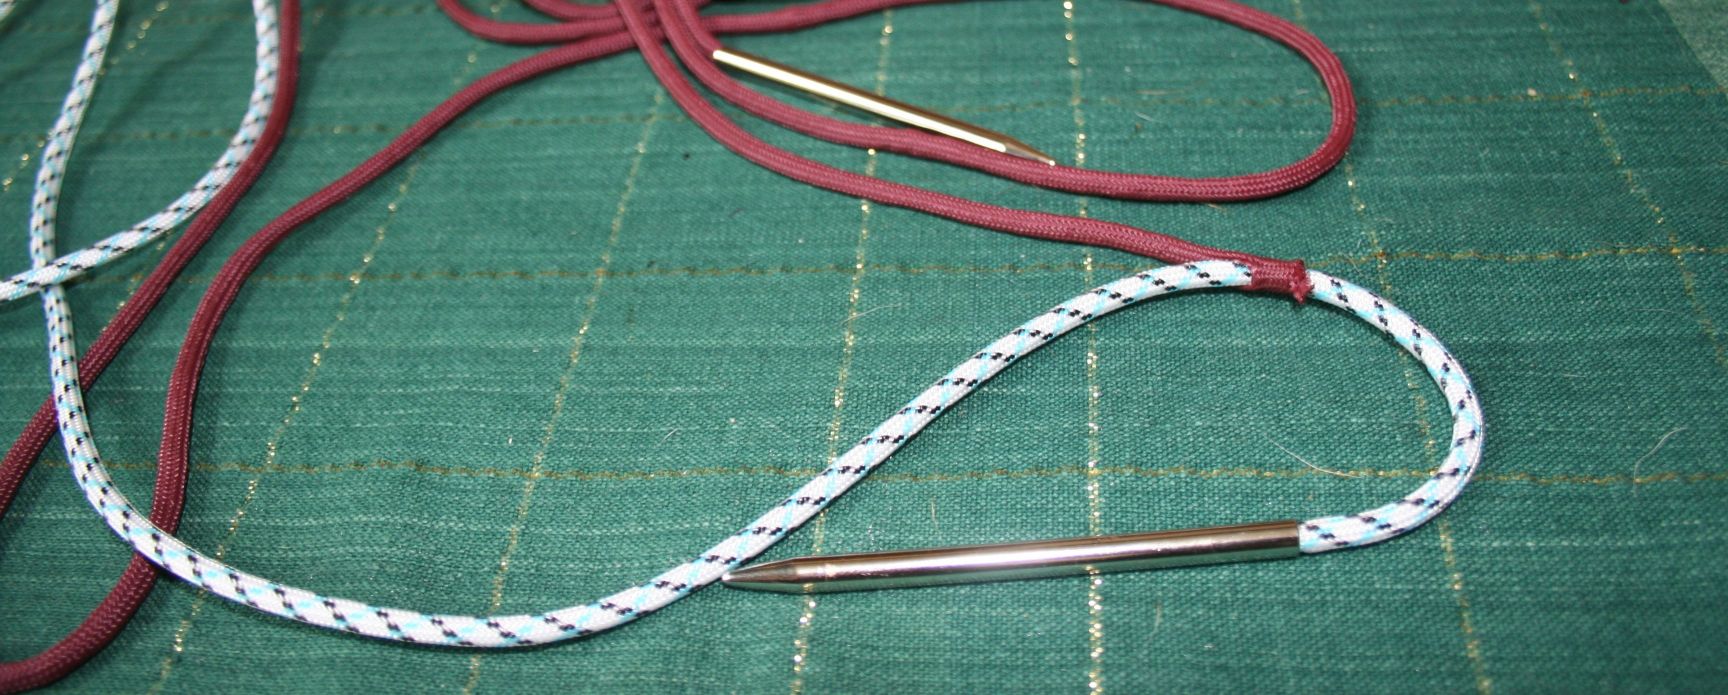
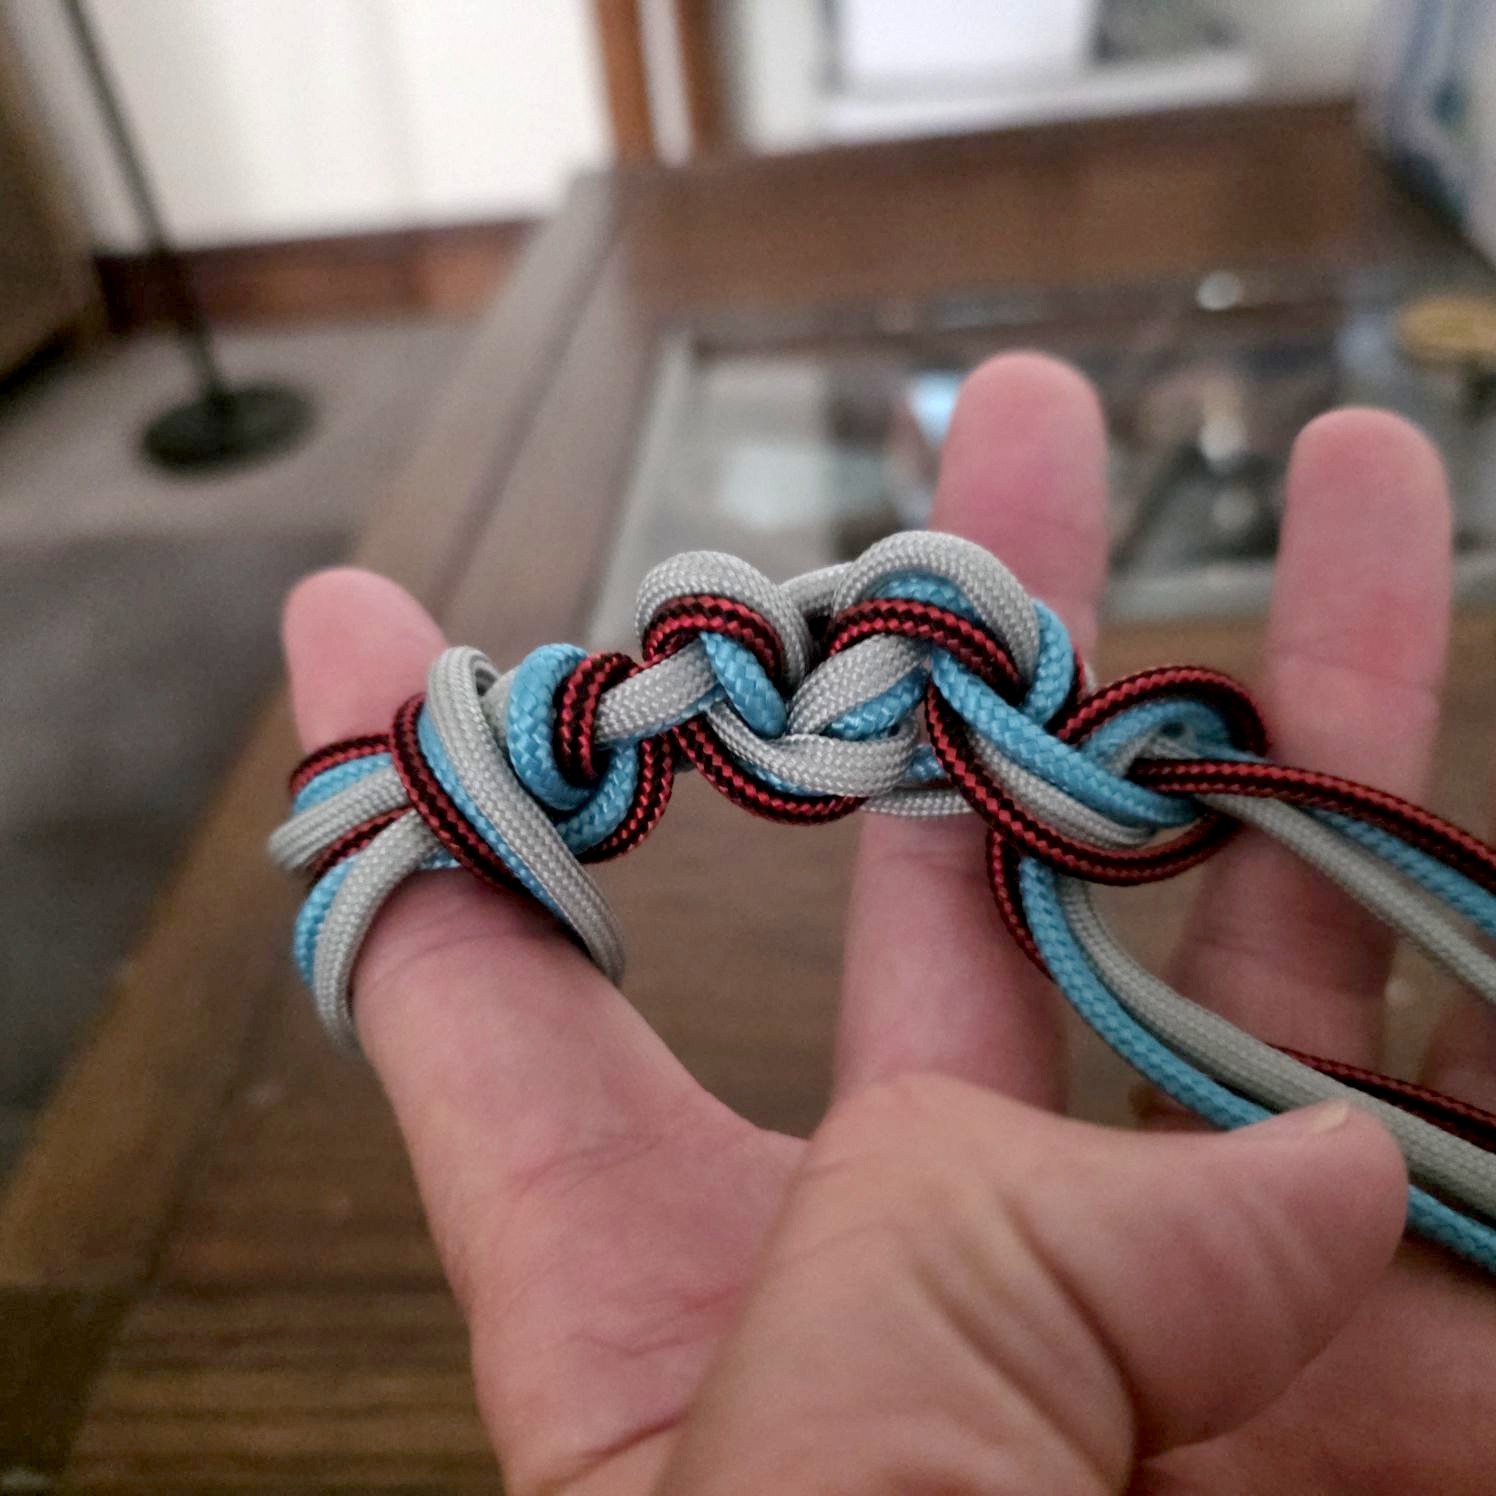
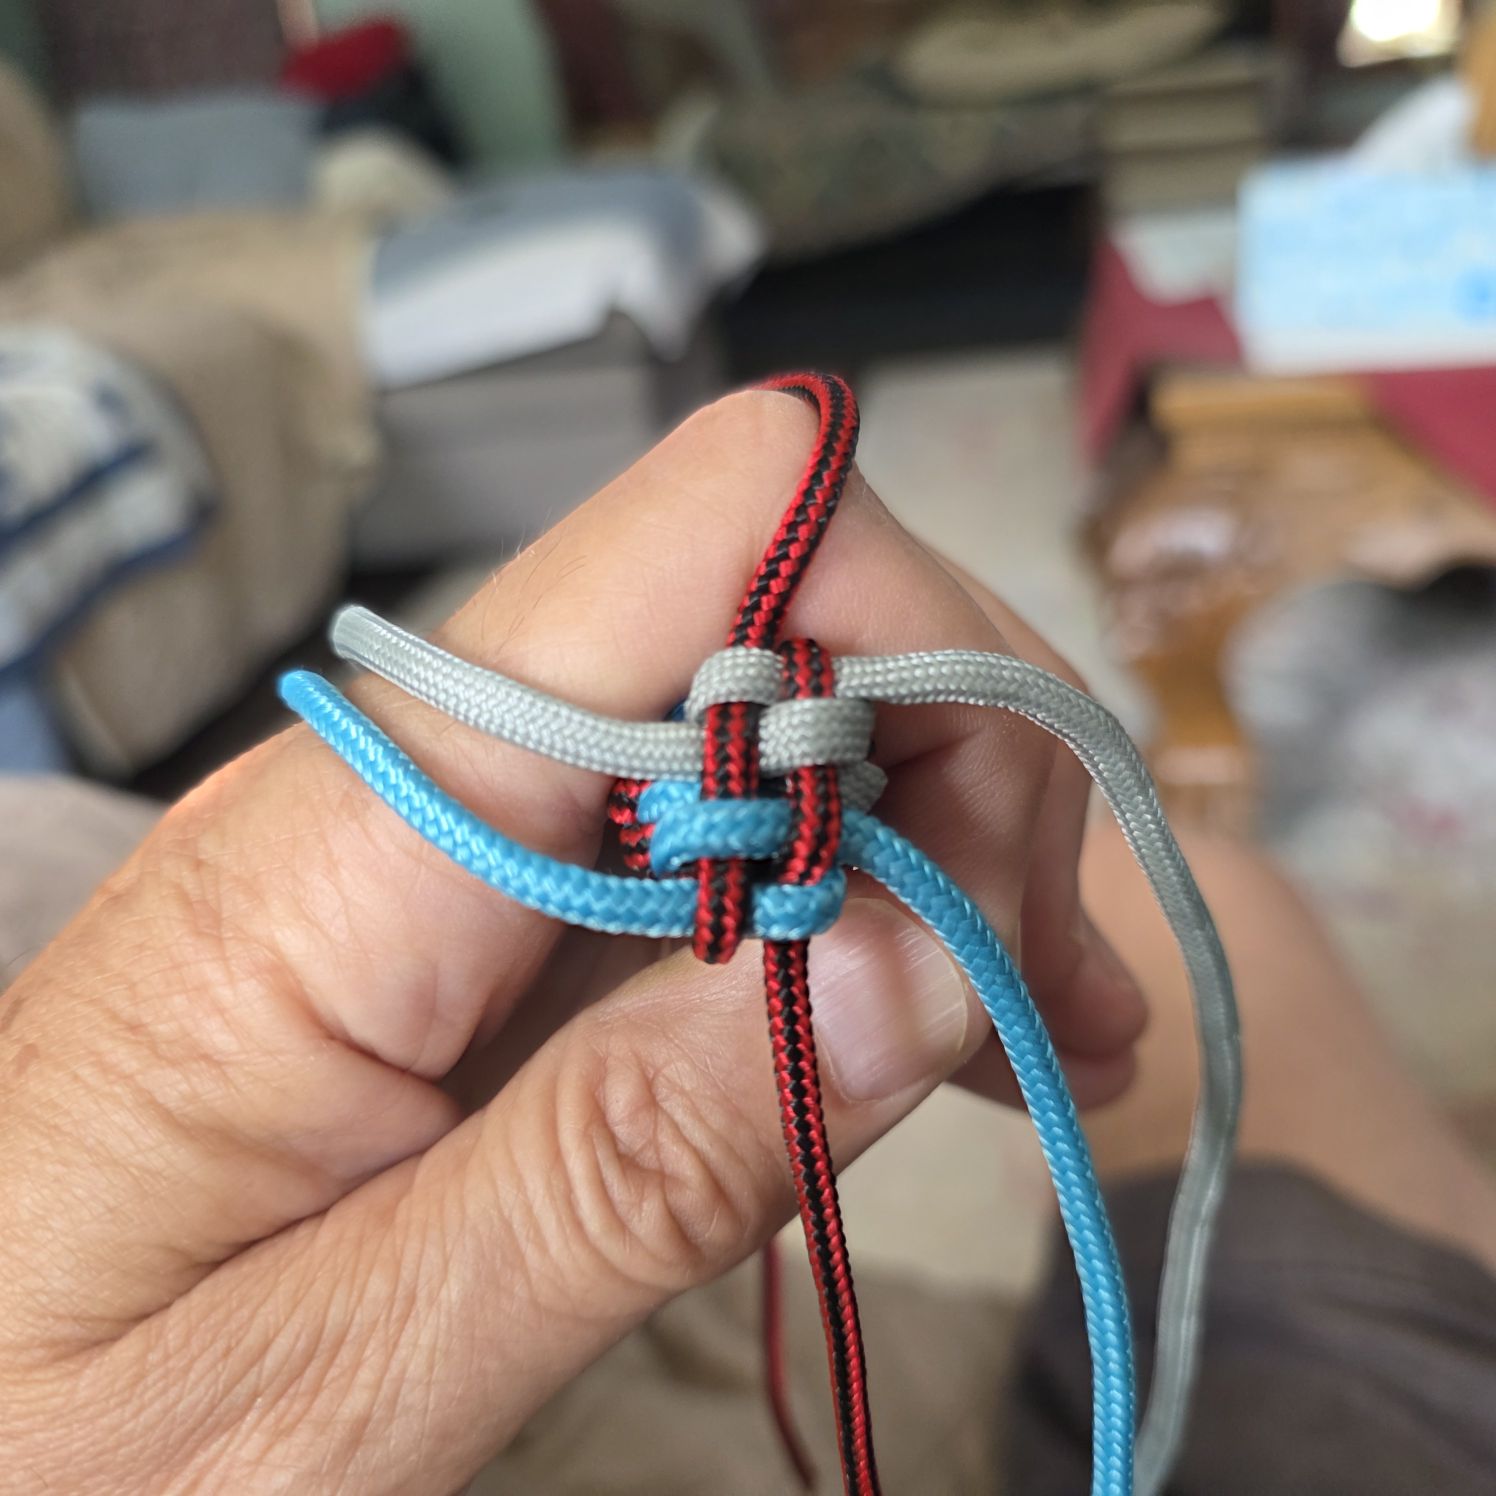
The photos below show the two methods side by side: the Manny Method mid-setup, looping the two ends around a fid before binding them, next to a melted joint doing the opposite, straining right before it lets go. The Manny Method, developed by Manuel Zambrano, is stronger and hailed by many as superior for fusing two cords. It's a wrap-and-bind joint rather than a melt, stronger and far more consistent, at the cost of a little more time and a little more care about where it lands in the weave so it doesn't show. Used on both Momo's collar and the Ringo set, after melting had failed and caused me to start over twice. On a dog collar specifically, the core takes more pressure while it's being built, and a fuse sitting right at the buckle can end up looking uneven if it isn't rounded well, one more reason to plan the fuse's placement as part of the design, not as cleanup after.
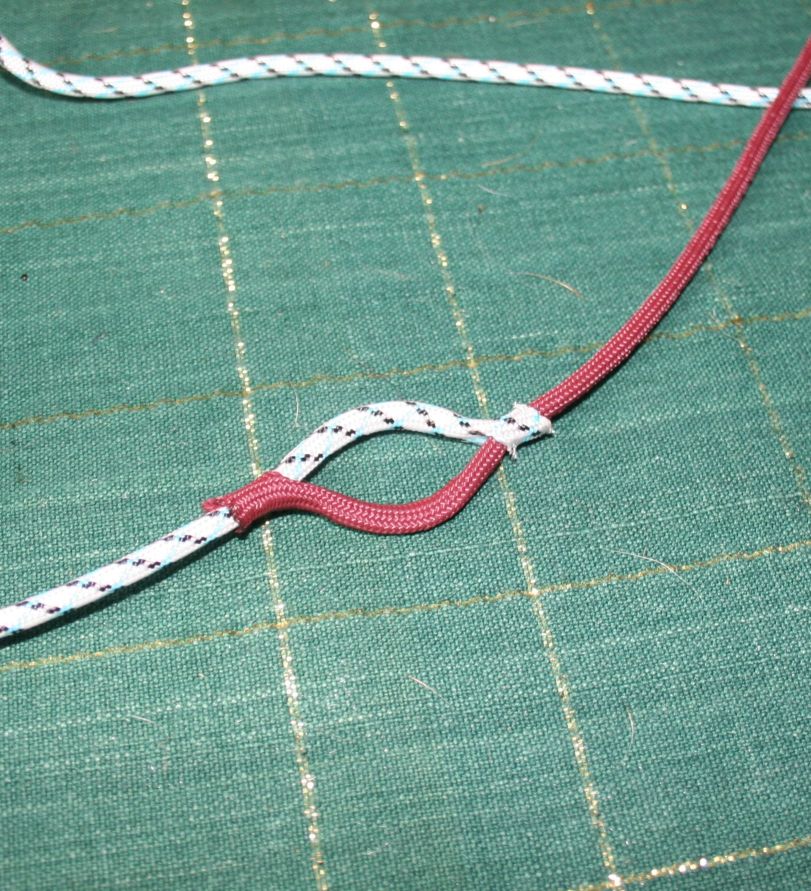
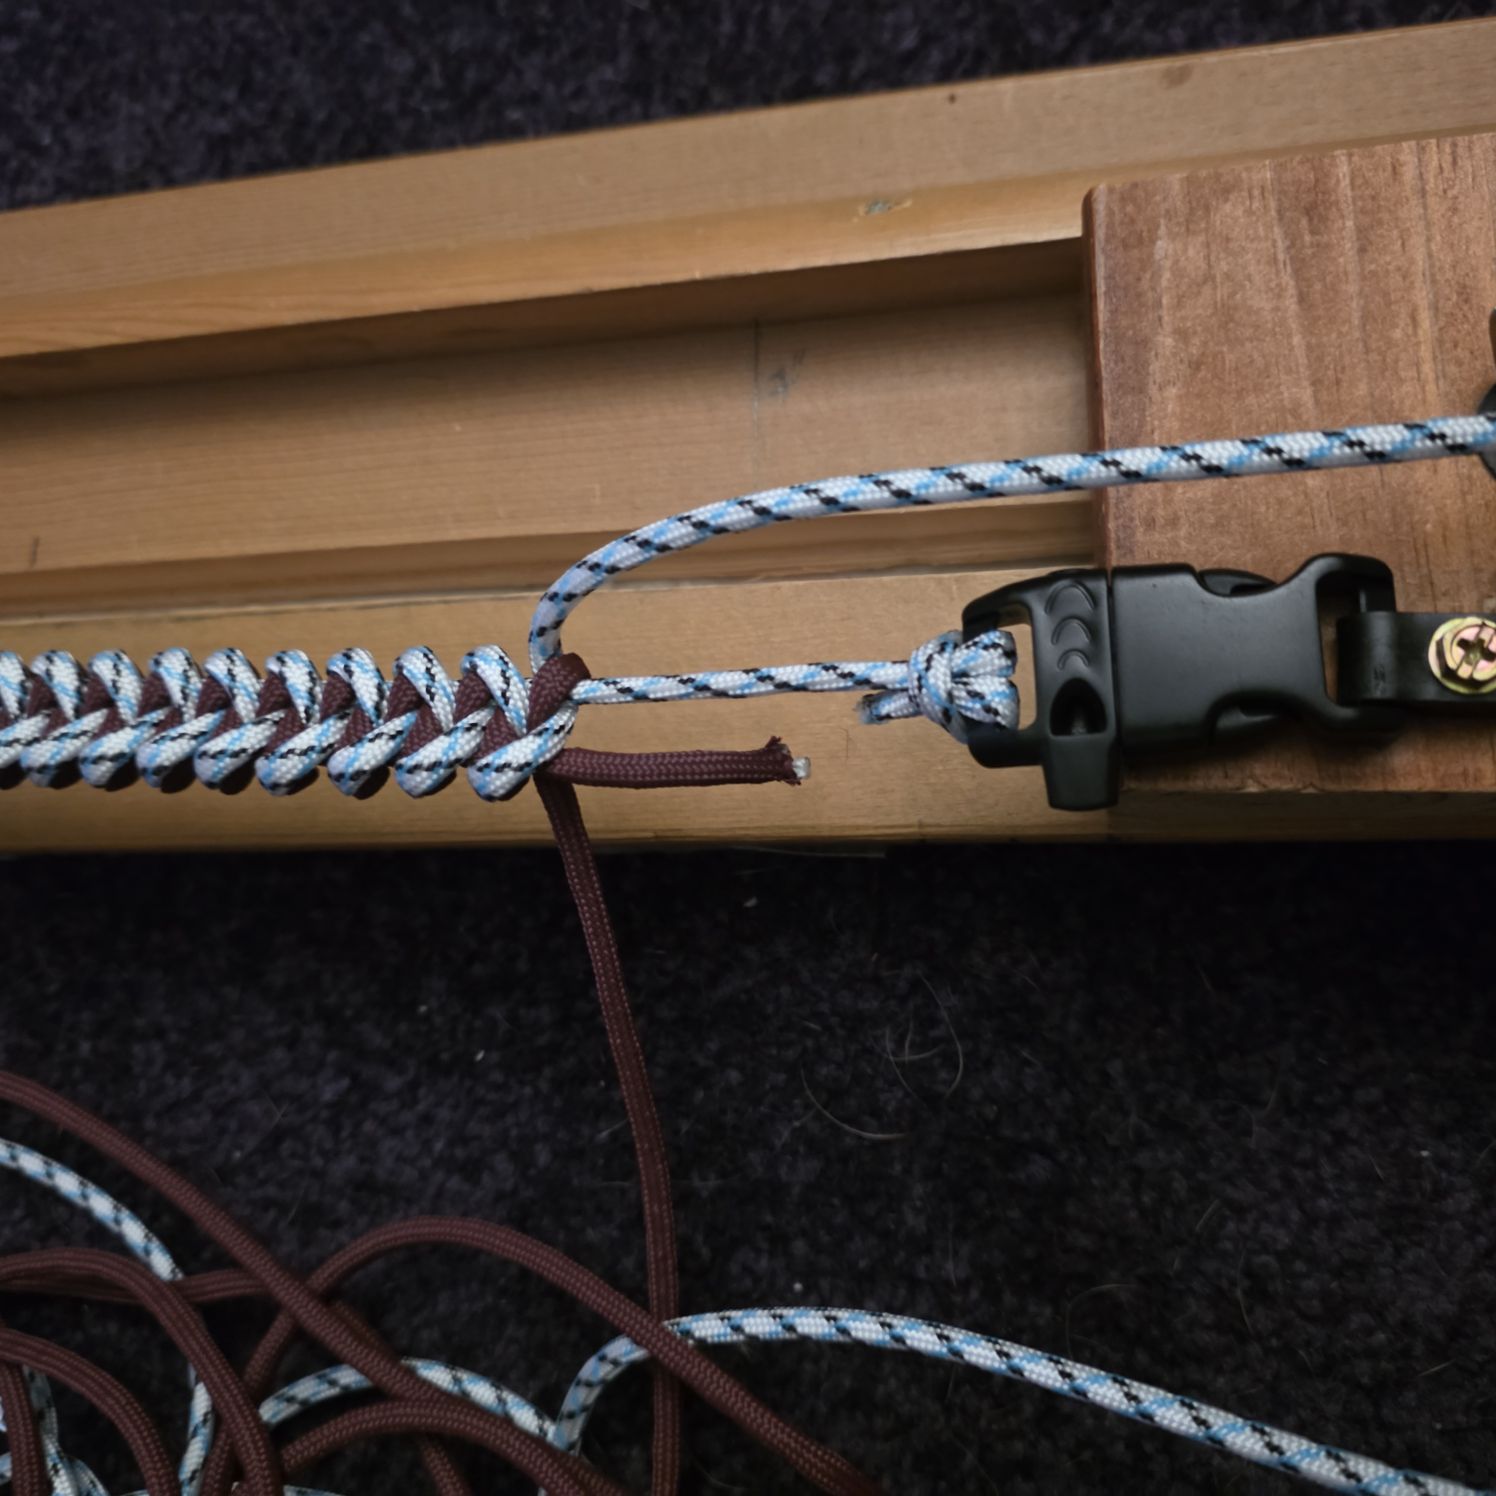
Four or five rows in, the melted joint on Ringo's collar looked strained, then it went. Twice. What should have been one build turned into three: two collars undone by the same failed melt fuse before the third held because I used the Manny Method.
Cord usage. The 1 foot-of-cord-per-inch finished rule from the early box weave work does not carry over to new patterns. Every pattern has its own appetite, and it has to be tested, not assumed. Testing on a small piece (a bracelet) before committing a large one (a collar) is the cheapest way to learn a pattern's real cost. Better yet, prototype the pattern itself, not just the color. This is how I caught a compression problem before it turned into a finished, unusable piece.
Material and color. Stiff, non-stretch cord can fight the pattern as much as the fuse. And color separation matters as much within a single piece as between two pieces: the tornado's metallic red only works as a seam because it doesn't get confused for the other strands.
The keychain set got a "you should teach a workshop" reaction from the office staff. Two ideas for that came to mind: a low-key team session with a group to build something small and easy, learning and helping each other or a donation-based rescue fundraiser to teach how to make a collar (different audience and stakes). There is also the simple fallback of just teaching one person directly. None of it is being chased. If someone asks in earnest, it's there to build; until then, it stays an idea.
Questions about pattern, color choices, material sourcing or commissioning a piece; reach out directly.
Send a message